 ultimate-guide
Kitchen Plumbing Rough-In: Dimensions & Code Guide
Table of Contents
- Kitchen Plumbing Rough-In: What It Includes
- Standard Kitchen Plumbing Rough-In Dimensions
- Vent Stack Requirements and the 135 Rule
- PEX vs. Copper: Choosing Supply Line Materials
- Island Sink Rough-In Challenges and Solutions
- Plumbing Permit Requirements for Kitchen Remodel
- Common Rough-In Mistakes and How to Avoid Them
- How to Verify Plumbing License and Insurance
- Frequently Asked Questions
Last Updated: September 6, 2026
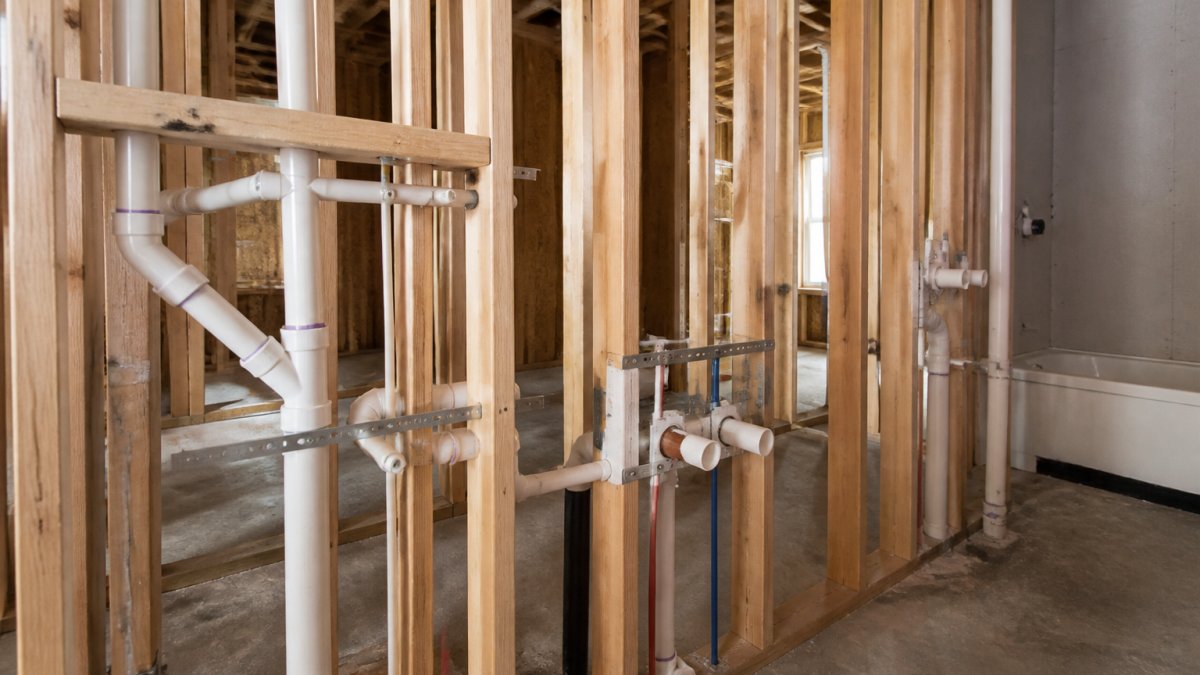
Kitchen plumbing rough-in positions all water supply lines, drain waste pipes, and vent stacks within open wall cavities before drywall goes up. Getting these dimensions wrong means cutting into finished walls later, which is costly and messy. This guide walks through the standard measurements, code requirements, and material choices that separate a smooth remodel from a disaster.
The rough-in happens once, behind the walls, and dictates where your sink, dishwasher, and disposal will function for decades. Below, we cover the exact dimensions inspectors look for, the venting rules that prevent sewer gas buildup, and the common mistakes that send remodel budgets over the edge.
Kitchen Plumbing Rough-In: What It Includes
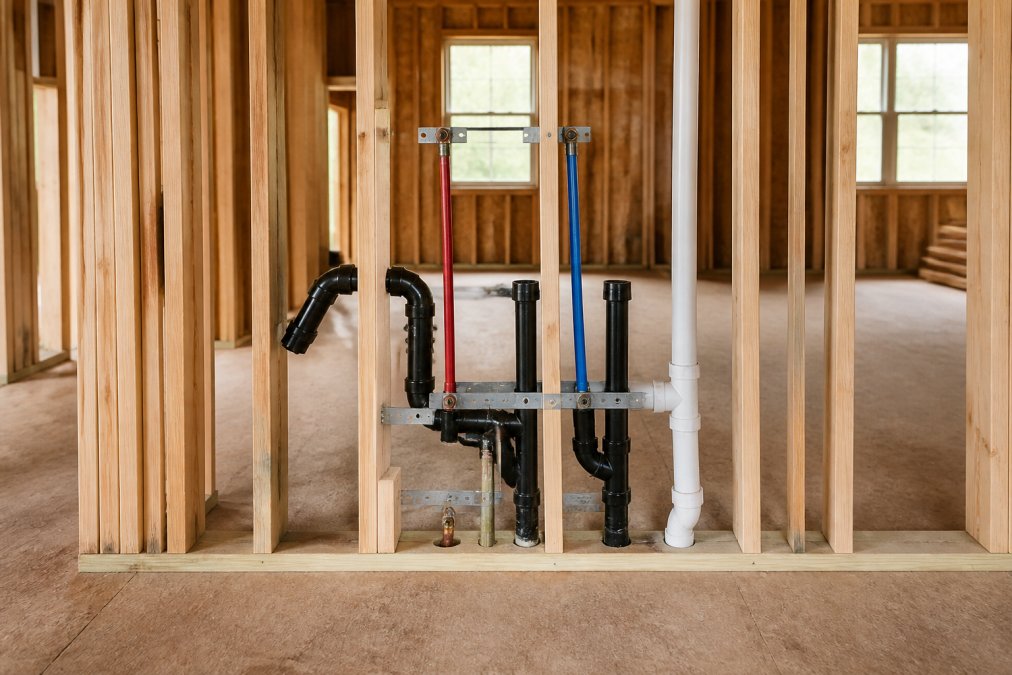
Kitchen plumbing rough-in covers three distinct systems planned together: the water supply lines, the drainage system, and the vent stack that regulates air pressure so drains flow freely. Each system has its own code requirements and dimensional tolerances.
The supply lines are typically run as 1/2-inch PEX or copper tubing from the main water source to stub-outs that will connect to the faucet and appliances. The drainage side uses larger pipe, usually 1-1/2 inches for a kitchen sink branch and 2 inches for the vertical drain connection. The vent stack connects to the drain line and routes upward through the roof or ties into an existing main stack.
Rough-in is not just about pipe placement; it coordinates with cabinetry dimensions, appliance clearances, and finished floor elevation. The plumber needs cabinet shop drawings and appliance specs before setting stub-out heights, because a refrigerator ice maker line or pot filler requires different positioning than a standard sink supply.
Standard Kitchen Plumbing Rough-In Dimensions
The standard height for kitchen sink supply lines is 22 inches above the finished floor, measured to the center of the stub-out (up.codes). The drain stub-out for the sink should sit at 18 to 20 inches above the finished floor. These measurements assume a standard 36-inch tall base cabinet with a countertop thickness of 1-1/2 inches, which places the faucet connections comfortably within the cabinet box.
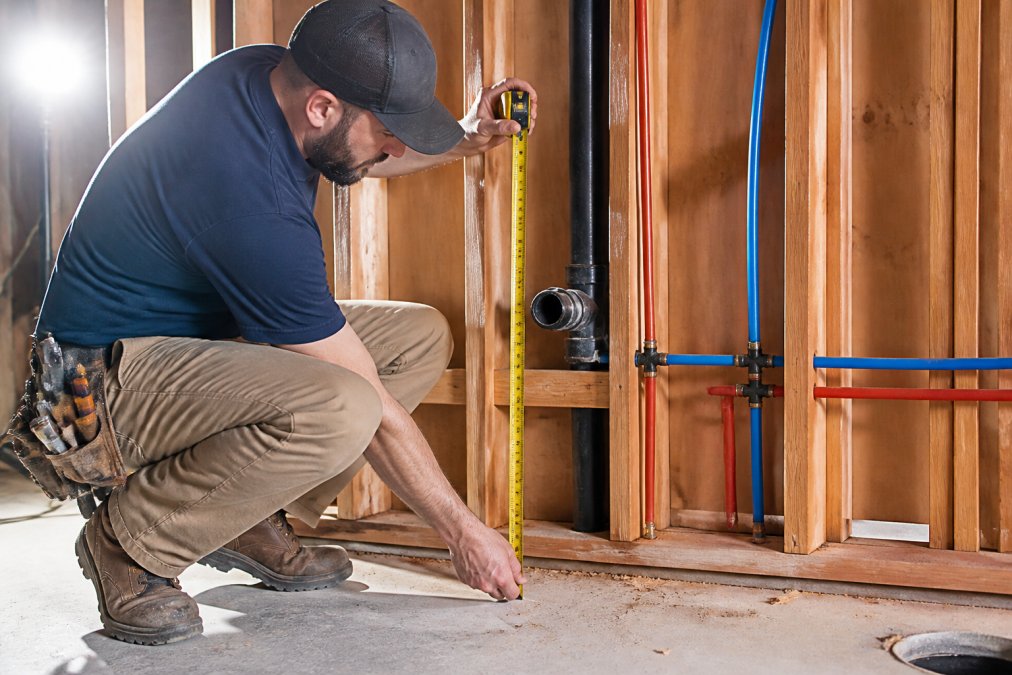
The dishwasher supply line and drain typically stub out at 8 to 12 inches above the finished floor, positioned in the cabinet space adjacent to the sink. The garbage disposal requires a dedicated circuit but no separate supply line, since it shares the sink drain. The refrigerator supply line, if you are adding an ice maker or water dispenser, stubs out at 20 inches above the finished floor directly behind the appliance.
Rough-in dimensions are always measured from the finished floor, not the subfloor. If you set stub-outs based on the subfloor and then add 3/4-inch hardwood plus underlayment, every connection sits low. Confirm the finished floor elevation with the general contractor before any pipe is secured.
| Fixture | Supply Line Height | Drain Height | Notes |
|---|---|---|---|
| Kitchen sink | 22 in above finished floor | 18-20 in above finished floor | Center of stub-out |
| Dishwasher | 8-12 in above finished floor | 8-12 in above finished floor | Adjacent cabinet to sink |
| Refrigerator | 20 in above finished floor | N/A | For ice maker line |
| Pot filler | 38-42 in above finished floor | N/A | Behind cooktop or range |
Vent Stack Requirements and the 135 Rule
Vent stacks prevent sewer gases from entering the home and allow drains to flow by equalizing pressure. The critical measurement is the 135 rule: the total fall from the trap weir to the vent connection cannot exceed 135 degrees of cumulative bend, and the horizontal distance from the trap to the vent must stay within code limits based on pipe diameter.
For a 1-1/2-inch drain line, the maximum horizontal distance from the trap to the vent is 6 feet (up.codes). For a 2-inch line, that distance extends to 8 feet. The vent must connect to the drain line above the trap arm, and the trap arm itself cannot have more than one fixture unit of fall before reaching the vent connection.
A common workaround is the air admittance valve (AAV), also known as a cheater vent. These devices allow air into the drain system without a full vent stack through the roof, and many local codes permit them for island sinks and peninsula installations. The AAV must be accessible for maintenance, typically installed in the cabinet base above the flood level rim of the fixture.
PEX vs. Copper: Choosing Supply Line Materials
PEX has become the default choice for kitchen supply lines because it is flexible, resistant to freezing damage, and requires fewer fittings than rigid copper. PEX runs in continuous lengths from the manifold or main supply to the fixture, eliminating potential leak points at every joint. The material also handles expansion and contraction when hot water flows through the line.
Copper remains preferred for homeowners who prioritize longevity and are willing to pay for the labor of soldering or compression fittings. Copper is rigid, holds up well to high water pressure, and has a proven track record spanning decades. The trade-off is cost and installation time, since every bend requires a fitting and every joint is a potential failure point.
The choice often comes down to access. On a slab foundation with no crawl space, PEX can be snaked through existing pathways with less demolition. In a new addition with open framing, copper is straightforward to run and inspect. Many plumbers use a hybrid approach: PEX for long horizontal runs and copper for exposed stub-outs visible under the sink.
Island Sink Rough-In Challenges and Solutions
Island sinks present the most difficult rough-in scenario because the drain and vent cannot run up through the wall behind the fixture. The waste line must travel horizontally through the floor, and the vent must be handled without a direct vertical path to the roof. This requires careful planning before the slab is poured or the floor joists are closed up.
The standard solution is to run the waste line through the floor and slope it at 1/4 inch per foot toward the main drain. The vent then loops up and over the flood level rim of the sink before dropping back down to connect with the drain line, a configuration known as a loop vent. This is code-compliant in many jurisdictions but requires significant vertical space under the island.
The simpler alternative is an air admittance valve installed in the island cabinet. The AAV allows the drain to breathe without penetrating the roof, and it is the approach most remodel contractors prefer for cost and simplicity. It must be installed above the flood level rim of the sink, typically around 8 inches above the countertop, so it sits high in the cabinet and requires dedicated space.
Island sinks also complicate supply lines. The hot and cold water lines must run through the floor and turn upward through the cabinet base, making every connection point inaccessible once the island is finished. Insulate the supply lines to prevent condensation and consider installing shut-off valves at floor level so the island can be serviced without draining the entire house.
Plumbing Permit Requirements for Kitchen Remodel
Most municipalities require a plumbing permit for any remodel that moves or adds supply lines, drain lines, or vent stacks. The process involves a rough-in inspection before drywall is installed, followed by a final inspection once fixtures are connected and the system is tested. Working without a permit risks fines and can create liability issues when the home is sold.
The inspection happens in two stages. The rough-in inspection verifies that all pipe sizes, slopes, and vent connections meet code before they are concealed. The final inspection confirms fixtures are installed correctly, the system holds water under pressure, and there are no leaks. The inspector also verifies that shut-off valves are accessible and drain lines have the correct fall.
The inspector will check that the dishwasher has an air gap or high loop to prevent backflow, that the garbage disposal drain connects properly, and that all supply lines have individual shut-off valves. They will also confirm the vent stack terminates correctly and any AAVs are accessible and at the proper height. Keep inspection documentation with the home records.
Common Rough-In Mistakes and How to Avoid Them
The most frequent mistake is setting stub-out heights without accounting for finished floor elevation and the specific dimensions of the chosen cabinetry. A sink base cabinet that is 34-1/2 inches tall with a 1-1/2 inch countertop places the bottom of the sink at roughly 36 inches, but a furniture-style cabinet or thicker countertop shifts everything. Measure the actual cabinet and countertop, not the standard assumption.
The second common error is failing to install shut-off valves on every supply line. Each fixture, including the dishwasher and refrigerator, should have an accessible shut-off valve so a single leak does not require turning off water to the entire house. These valves must be reachable through the cabinet interior, not buried behind the sink or appliance.
The third mistake involves the drain slope. Waste lines must slope at 1/4 inch per foot toward the main drain, and even a slight dip or belly will cause standing water, clogs, and eventual corrosion (codes.iccsafe.org). Support the drain line at every joint and check the slope with a level before securing it to the framing. A drain line that looks level will not drain properly.
| Mistake | Consequence | Prevention |
|---|---|---|
| Stub-outs set from subfloor | Connections sit too low | Measure from finished floor |
| Missing shut-off valves | Full house water shut-off for one leak | Valve on every supply line |
| Flat or negative drain slope | Standing water, clogs, corrosion | 1/4 in per foot, check with level |
| Vent too far from trap | Gurgling, sewer gas entry | Follow 135 rule or install AAV |
How to Verify Plumbing License and Insurance
Before any plumber starts a kitchen rough-in, verify that the company holds a valid plumbing license for your state and carries both general liability insurance and workers compensation coverage. A licensed plumber has passed the required trade examinations and is accountable to the state licensing board. Insurance protects you if a worker is injured on your property or if the work causes damage to your home.
Ask for the license number and verify it through your state licensing board, which typically offers an online lookup tool. Confirm the license is current and has no disciplinary actions or unresolved complaints. The license should be in the company name, not just an individual worker, and it should match the entity listed on your contract.
Request a certificate of insurance directly from the plumber's insurance carrier, not a photocopy of a policy declaration page. The certificate should list the company name, policy effective dates, and coverage limits for both general liability and workers compensation. Call the carrier to confirm the policy is active, because certificates can be forged or outdated.
Planning a kitchen remodel and need the plumbing rough-in done right the first time? The team at Colby Plumbing Company LLC brings experience to new construction and remodel projects. From island sink venting to code-compliant inspections, our licensed professionals handle the details. Contact us today to discuss your kitchen plumbing rough-in and get a straight answer on what your project requires.
Frequently Asked Questions
What is the 135 rule for plumbing?
The 135 rule is a venting guideline that limits the total change in direction for the vent portion of a fixture drain. Between the fixture trap and the vent connection, the horizontal piping cannot have more than 135 degrees of total fittings. This prevents the drain from siphoning the trap seal. For example, two 45-degree elbows or a combination of fittings that adds up to more than 135 degrees is not code compliant. Always plan your drain and vent routing to respect this limit.
How do I determine the correct height for kitchen sink plumbing rough-ins?
Standard kitchen sink supply lines are roughed in at 20 to 22 inches above the finished floor. The drain stub-out should be centered 18 to 20 inches above the finished floor, though the exact height depends on your sink depth and cabinet layout. Measure from the highest point of the finished floor, not the subfloor, to avoid errors. Verify your specific sink model's requirements before setting the stub-outs to ensure the trap arm will align correctly with the drain.
Do I need a permit for kitchen plumbing rough-ins?
Most local jurisdictions require a plumbing permit for any work that involves moving or adding drain, waste, or vent lines, which a kitchen remodel almost always does. Replacing existing supply lines in the same location may not require one, but it is best to check with your local building department. A permit triggers an inspection of the rough-in work before drywall is installed. This inspection verifies correct slope, venting, and material use, protecting your home and your family.
How can I verify my plumber is licensed and insured for my remodel?
Ask the plumber for their state license number and verify it on your state's licensing board website. Confirm their insurance covers both general liability and workers' compensation. Ask for a certificate of insurance and call the insurance agency to confirm the policy is active. A licensed plumber has passed required exams and stays updated on local plumbing code. Working with an unlicensed contractor can void your home insurance if their work causes damage.
What is included in a kitchen plumbing rough-in?
A kitchen plumbing rough-in includes all the work done after the walls are open but before drywall is hung. This includes running the hot and cold water supply lines, installing the drain and vent pipes, and setting the stub-outs that will connect to the sink fixtures. The plumber should also pressure-test the supply lines to check for leaks and confirm the drain slope is correct. All this work must pass inspection before the walls can be closed.
What are the common mistakes to avoid during a kitchen plumbing rough-in?
A common mistake is setting stub-out heights based on the subfloor rather than the finished floor, which shifts connections. Another is forgetting to account for the sink's rear clearance when placing the drain. Failing to properly support horizontal drain lines can lead to sags and clogs. Using the wrong fittings, like a tee instead of a sanitary tee for a horizontal drain, is also a frequent code violation. Always dry-fit the trap arm to confirm the alignment before securing everything.