 how-to
Prevent Frozen Pipes in Unheated Garage: 7 Steps
Table of Contents
- Why Frozen Pipes Happen in Unheated Garages
- Step 1: Identify Vulnerable Plumbing Areas in Your Garage
- Step 2: Insulate Pipes with Foam Sleeves and Fiberglass Insulation
- Step 3: Install Heat Tape and Heat Cables on Exposed Pipes
- Step 4: Seal Cracks and Gaps to Block Cold Air
- Step 5: Keep Water Flowing with Dripping Faucets and Shut-Off Valves
- How to Thaw Frozen Pipes Safely
- When to Call Emergency Plumbing Services for Frozen Pipes
- Frequently Asked Questions
Last Updated: September 1, 2026
Why Frozen Pipes Happen in Unheated Garages
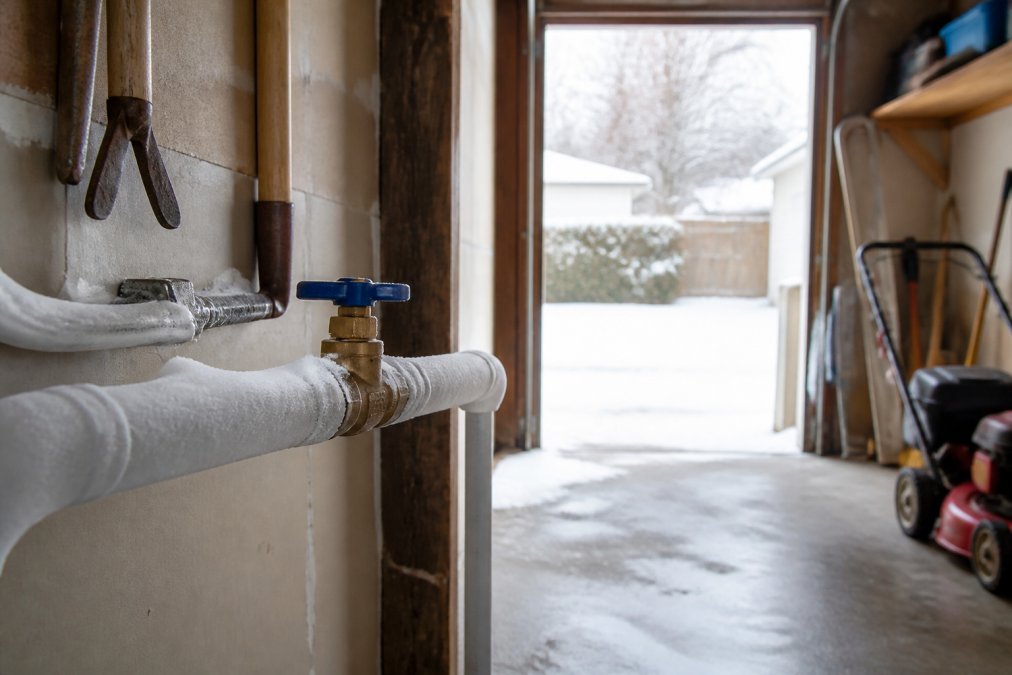
Water freezes when exposed to temperatures below 32°F for extended periods, and unheated garages create the perfect conditions for this to happen (nist.gov). When water inside a pipe begins to freeze, it expands, creating pressure that eventually ruptures the pipe. Even small cracks can leak hundreds of gallons of water before you notice the damage, often in places you can't see, inside walls, under concrete, or behind stored items (the EPA).
At Colby Plumbing Company LLC, we've responded to countless frozen pipe emergencies that could have been avoided with basic winterization. The real culprit is thermal protection failure: pipes need insulation to maintain water temperature and water movement to prevent freezing. When both are missing, pipes freeze, especially for supply lines that run through exterior walls or along the garage perimeter.
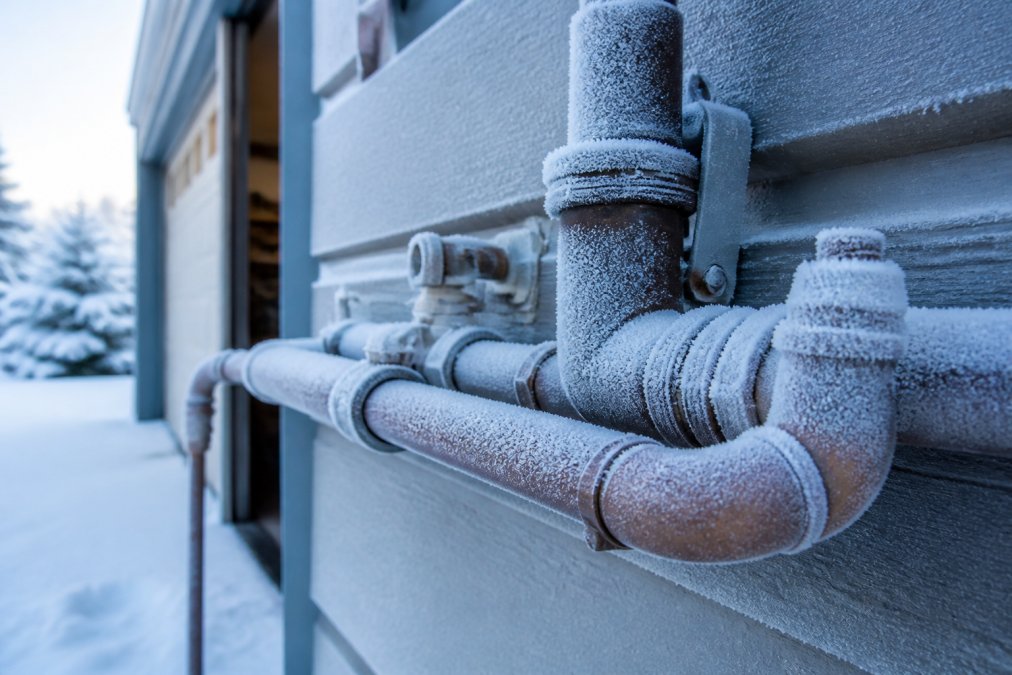
Step 1: Identify Vulnerable Plumbing Areas in Your Garage
Before you can protect your pipes, locate every pipe that runs through your garage, paying special attention to those near exterior walls, above concrete slabs, or in corners where cold air collects. Pipes closest to exterior walls freeze first because they're exposed to outdoor temperatures on both sides. Water supply lines are more vulnerable than drain lines because they contain static water that has more time to freeze.
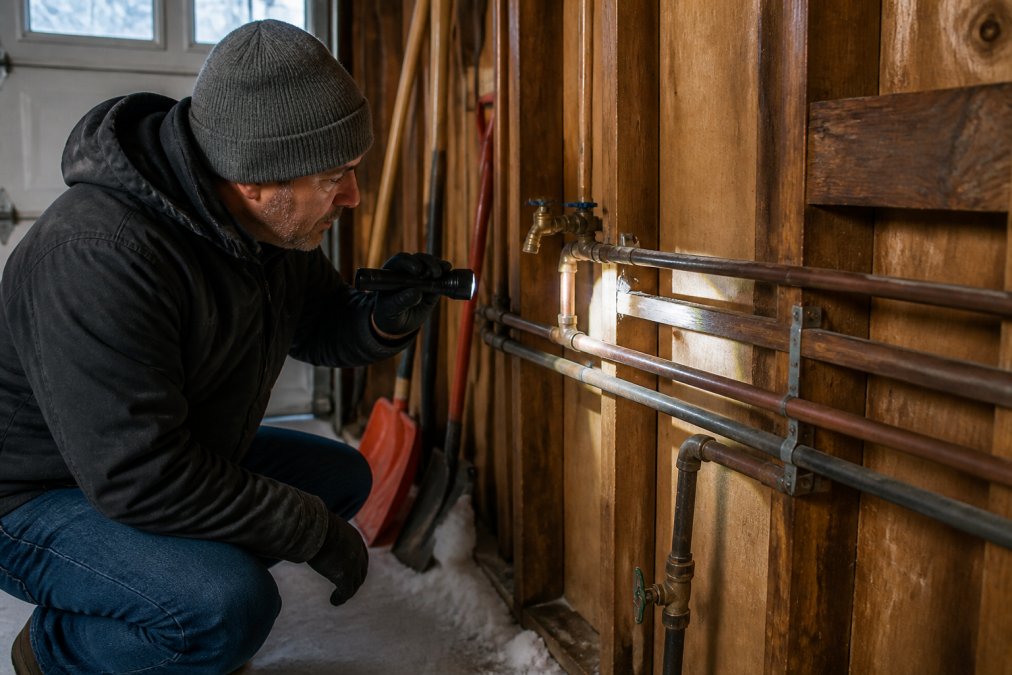
Look for pipes that lack any insulation at all, these are your priority. Check under sinks, along the foundation, inside wall cavities if visible, and anywhere pipes transition from heated to unheated space. Mark these areas so you know exactly where to focus your winterization efforts. The most vulnerable pipes are those in the coldest part of your garage: corner areas, spots above concrete slabs, and sections exposed to wind through gaps in the garage door.
Step 2: Insulate Pipes with Foam Sleeves and Fiberglass Insulation
Pipe insulation is your first line of defense against frozen pipes. Foam sleeves are the easiest solution because they're affordable, simple to install, and effective. These sleeves slide over the pipe and create a thermal barrier that keeps water temperature stable even when surrounding air is well below freezing.
Foam sleeves come in standard sizes for common pipe diameters: 1/2 inch, 3/4 inch, and 1 inch for residential plumbing (astm.org). Measure your pipe diameter before buying, and purchase sleeves slightly larger than your actual pipe size. Most foam sleeves have a slit along the length that allows you to slide them over existing pipes without disconnecting anything.
Installation takes minutes per pipe section. Slide the foam sleeve onto the pipe and seal the slit with foam tape or adhesive. For pipes with fittings or valves, cut the sleeve to length and wrap it around these components. The goal is continuous coverage, any gap in insulation creates a weak point where freezing can start.
Fiberglass pipe wrap offers an alternative for irregular shapes or complicated pipe runs. This material wraps around the pipe like a bandage and works well for pipes with multiple bends or connections. Wrap it tightly to eliminate air gaps, as these reduce effectiveness. For maximum protection in extremely cold conditions, combine both methods: use foam sleeves on main supply lines and fiberglass wrap on secondary lines and connection points.
Step 3: Install Heat Tape and Heat Cables on Exposed Pipes
Heat tape and heat cables are active heating solutions that maintain water temperature even in the coldest conditions. Self-regulating tape is safer and more energy-efficient because it automatically adjusts heat output based on temperature. Constant-wattage tape maintains fixed heat output regardless of temperature, which wastes energy but can be useful in extreme cold.
Installation is straightforward. Wrap the heat tape around the pipe in a spiral pattern, maintaining consistent spacing between wraps, typically every 3-4 inches. Secure the tape with aluminum foil tape, which reflects heat back toward the pipe and protects the tape from damage. Plug the heat tape into a standard outlet, ideally one controlled by a thermostat that turns the tape on only when temperatures drop below a set point.
Heat cables work similarly but are thicker and more durable than heat tape. They're better for pipes in high-traffic areas and distribute warmth more evenly along longer pipe runs. Installation requires routing the cable along the pipe and securing it with clips every 12-18 inches.
The key to success is proper installation and adequate power supply. Undersized outlets or circuits can't handle the electrical load, creating fire hazards. If you're uncertain about electrical capacity, have a licensed electrician verify your setup. Heat tape and cables should never run continuously during warm periods, as this wastes electricity and can damage the tape.
Step 4: Seal Cracks and Gaps to Block Cold Air
Cold air infiltration is one of the biggest threats to garage plumbing. Even well-insulated pipes lose effectiveness if cold air constantly flows around them. Sealing gaps and cracks in your garage walls, around doors, and near pipe penetrations dramatically improves the thermal environment.
Start by inspecting your garage for visible gaps. Check around the garage door, especially along the bottom seal where cold air rushes in every time the door opens. Look for cracks in concrete walls, gaps where pipes enter the garage from outside, and spaces around windows.
Use silicone or polyurethane caulk to seal small cracks in concrete and gaps around trim. For larger gaps around pipes, use foam sealant that expands to fill the space. For the garage door, inspect the bottom seal and side seals for damage. A worn seal allows cold air to pour in whenever the door opens. Replacement seals are inexpensive and install in minutes.
For gaps around pipes entering the garage from outside, use spray foam insulation to seal these openings. Allow foam to cure, then trim excess with a utility knife.
Step 5: Keep Water Flowing with Dripping Faucets and Shut-Off Valves
Moving water resists freezing far more effectively than static water. When temperatures drop significantly, open an interior faucet fed by the most exposed water supply line and let it drip slowly into the sink. A single drip every few seconds is sufficient, you don't need a heavy stream, which wastes water.
Still water in a pipe will freeze solid given enough time in below-freezing temperatures. Moving water, even at minimal flow rates, stays above freezing because it's constantly being replaced with warmer water from the main supply.
Shut-off valves become critical if a pipe does freeze. If you can isolate the frozen section by closing a valve, you prevent water from backing up and creating additional pressure. Locate the main water shut-off valve for your home and ensure you know how to operate it. For garage plumbing specifically, identify any intermediate shut-off valves that serve only the garage.
A better approach than continuous dripping is to monitor weather forecasts and drip faucets only when temperatures are predicted to drop below freezing. This balances water conservation with pipe protection.
How to Thaw Frozen Pipes Safely
Despite your best prevention efforts, pipes sometimes freeze. The key is thawing them safely without causing additional damage. Never use an open flame or blowtorch, as these can damage pipes, ignite insulation, or create fire hazards.
A hair dryer is one of the safest thawing tools. Set it to medium heat and direct warm air along the frozen section of pipe, starting at the faucet end and working backward. This allows meltwater to drain out as the pipe thaws. It typically requires 20-30 minutes but works reliably without risk of pipe damage.
Heat lamps or infrared heaters work well for larger frozen sections. Position the heat source 12-18 inches from the pipe and allow heat to penetrate gradually. Never place heat sources directly against pipes or insulation.
Once water begins flowing again, leave the thawing heat source in place for another 10-15 minutes to ensure the entire pipe section is thawed. If thawing takes more than an hour or you can't locate the frozen section, call a professional plumber.
When to Call Emergency Plumbing Services for Frozen Pipes
Some frozen pipe situations require professional intervention. If you've attempted thawing for more than an hour without success, or if you suspect a pipe has already ruptured, contact emergency plumbing services immediately.
Burst pipes create water damage that spreads quickly through walls, ceilings, and flooring. The longer a burst pipe leaks, the more extensive and expensive repairs become. Professional plumbers have specialized equipment to locate frozen sections, thaw pipes safely, and assess damage.
Colby Plumbing Company LLC provides emergency response for frozen pipe situations in the Denver metro area. Our licensed professionals arrive quickly with the tools and expertise to handle even complex frozen pipe problems. For pipes in walls, under concrete, or in other inaccessible locations, professional help is almost always the right choice.
Prevention is far more cost-effective than emergency repair, but when prevention fails, professional plumbers have the expertise and equipment to resolve the situation quickly.
Frozen pipes in your unheated garage don't have to be an annual crisis. The prevention steps in this guide address the root causes of freezing and can be implemented before winter arrives. If you're facing an active frozen pipe situation or want professional guidance on winterizing your specific garage plumbing, contact Colby Plumbing Company LLC. Our team has been serving the Denver metro area since 1996 with fast, reliable emergency service and expert winterization advice. We'll help you protect your plumbing and avoid costly water damage.
Frequently Asked Questions
Q: Will pipes freeze in an unheated garage?
A: Yes. Pipes in unheated garages are at high risk of freezing when ambient temperature drops below 32°F, especially if they run along exterior walls or are exposed to cold air. Water inside the pipes stops flowing and expands, which can cause pipe rupture. Proper insulation and thermal protection are essential to prevent frozen pipes in unheated spaces.
Q: What's the best pipe insulation for unheated garages?
A: Foam sleeves and fiberglass insulation work well. Foam sleeves (typically 1 to 1.5 inches thick) fit directly over pipes and are quick to install. Fiberglass insulation with a vapor barrier can provide good R-value for pipes in extremely cold areas. Consider combining either with heat tape for additional protection in cold winters. Pipe wrap and caulking gaps around pipes also reduce temperature fluctuations.
Q: How do I know if my garage pipes are about to freeze?
A: Watch for reduced water flow from faucets connected to garage plumbing, visible frost or condensation on pipes, or unusual sounds in the plumbing system. If your garage temperature stays below 50°F for extended periods, your pipes are vulnerable. Smart home monitoring systems can alert you to temperature drops before freezing occurs, giving you time to take action.
Q: Should I call a professional if my pipes freeze?
A: If you suspect frozen pipes or notice no water flow, contact an emergency plumbing service. Attempting to thaw pipes yourself with a hair dryer or open flame risks fire and incomplete thawing. A licensed professional can safely identify the frozen section, thaw it properly, and check for pipe damage or rupture. Professional intervention can help prevent costly water damage and ensures the thawing process is done correctly.
This article was written using GrandRanker