 blog
Common Plumbing Mistakes in Bathroom Renovations
Table of Contents
- Common Plumbing Mistakes in Bathroom Renovations
- Bathroom Renovation Plumbing Checklist: Plan Before You Demolish
- Plumbing Rough-In Mistakes That Cause Leaks and Drain Issues
- Permits, Building Codes, and Inspection Checkpoints
- Moisture Control, Ventilation, and Mold Prevention
- How to Verify Plumbing License and Insurance
- Questions to Ask a Plumbing Contractor Before You Hire
- Conclusion
- Frequently Asked Questions
Last Updated: October 14, 2026
Common Plumbing Mistakes in Bathroom Renovations
Bathroom renovation plumbing mistakes usually start before the first tile comes up, and most trace to one root cause: nobody mapped the existing plumbing layout before demolition.
Most of these problems are cheap to avoid and expensive to fix. We've handled bathroom remodels across the Denver metro area since 1996, and the same errors show up again and again.
Bathroom Renovation Plumbing Checklist: Plan Before You Demolish
Start every bathroom renovation with a written plumbing checklist to keep the project on budget and prevent surprises once walls are open:
- Map the existing plumbing layout and photograph it
- Note pipe size and material for supply and drain lines
- Check water pressure at nearby fixtures
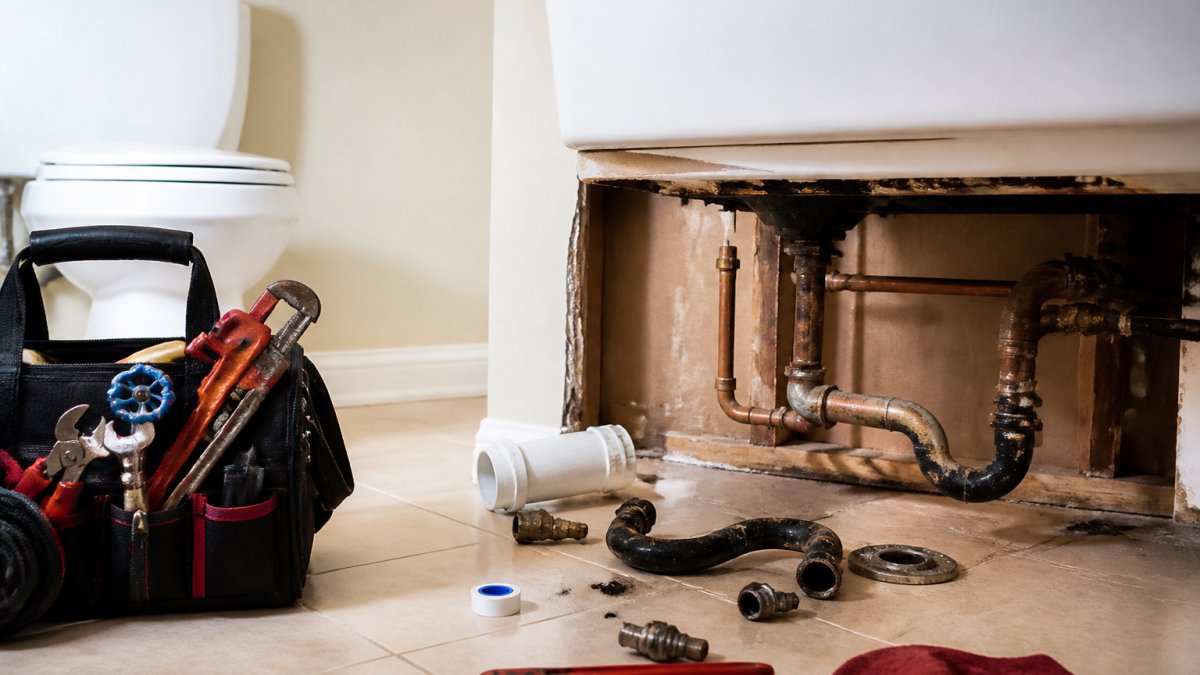
- Look for corroded fittings or past leak stains
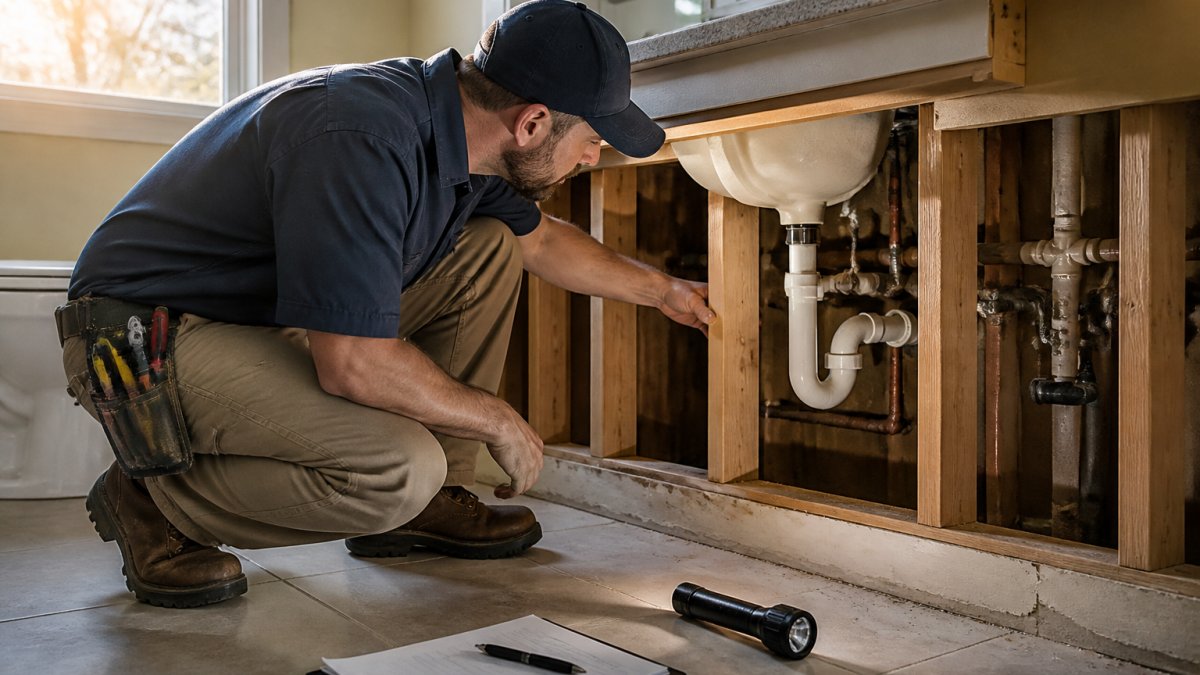
Diagnosing the Existing Plumbing Layout
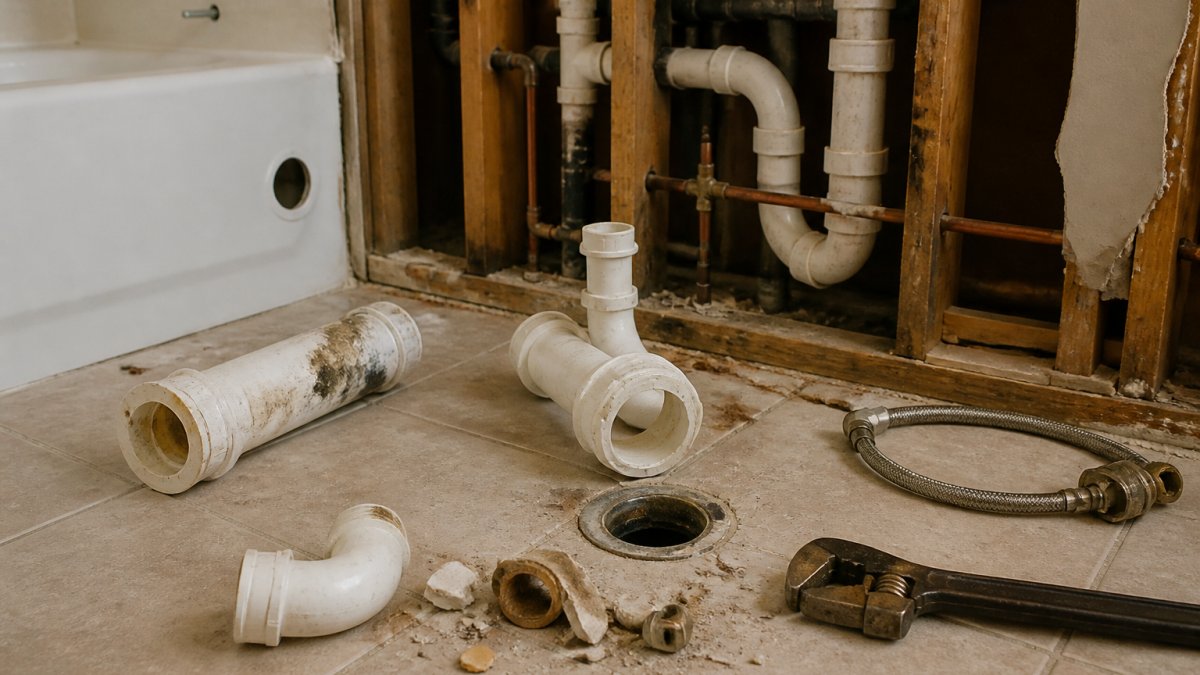
Diagnose before demolition: open the walls and inspect the actual pipes. Look for:
- Corroded fittings or green/white buildup
- Water stains that suggest slow leaks
- Undersized supply lines that limit water pressure
- Drain lines that don't slope correctly
A common mistake is assuming the pipes behind the wall match what's visible at the fixture. Older homes often have mixed materials or patched repairs.
Budgeting for Plumbing-Specific Costs and Contingency
Plumbing costs are the easiest line item to underestimate, hidden damage can double the plumbing portion of a budget. Set aside a plumbing-only contingency covering:
- Replacing corroded pipe sections found during demo
- Adding a new vent if the layout changes
- Upgrading supply lines for new fixtures
- Repairing subfloor damage from old leaks
Pricing depends on scope, materials, and what's found behind the walls. Contact us for a project-specific quote.
Plumbing Rough-In Mistakes That Cause Leaks and Drain Issues
Rough-in mistakes are the most expensive category of plumbing mistakes. They're buried behind tile and drywall, so fixing them means tearing out finished work. The gap between a rough-in that passes and one that fails usually comes down to a few measurements that are easy to verify before the walls close.
The most common rough-in errors:
- Wrong drain slope, causing slow drainage or standing water
- Fixture rough-in measurements that don't match the fixture being installed
- Missing blocking for wall-mounted items like grab bars and shower seats
- Undersized drain lines for the fixture load
Drain Slope and Pipe Sizing
Drain lines rely on gravity, and gravity is unforgiving. Horizontal runs for fixtures up to 2 inches in diameter are typically sloped about 1/4 inch per foot.
Pipe sizing matters just as much. A lavatory drain is commonly 1-1/4 to 1-1/2 inches, a toilet drain 3 inches, and a shower or tub drain 1-1/2 to 2 inches.
Fixture Compatibility and Rough-In Measurements
Every fixture has a rough-in specification: the distance from the finished wall to the drain or supply connection. Confirm it before ordering the fixture and before closing the wall:
| Fixture | Key Measurement | Typical Value | Common Mistake |
|---|---|---|---|
| Toilet | Rough-in distance (finished wall to drain center) | 10 in, 12 in, or 14 in | Assuming all toilets match; 12 in is most common but not universal |
| Sink | Drain and supply placement | Drain centered on vanity; supplies 8-20 in above floor | Ignoring vanity depth and drawer clearance |
| Shower | Valve and drain location | Valve center 48 in above floor (common); drain centered on pan | Setting the valve too deep or too shallow for the trim |
| Tub | Drain and overflow position | Overflow 2-4 in below the rim | Mismatched rough-in between tub and drain assembly |
Shower valves are a frequent failure point: the valve body's rough-in depth determines whether the trim plate sits flush against the finished tile. Too far back, the trim won't seal and water reaches the wall cavity; too far forward, it won't fit.
Check fixture clearances too. A toilet typically needs at least 15 inches from the centerline to any side wall or obstruction, and 21 inches of clear space in front.
Verify Before You Close the Wall
Before drywall and tile go up, do a walkthrough with a tape measure and a level:
- Confirm every drain and supply location against the fixture cut sheets
- Confirm drain slope with a level
- Confirm valve depth against the finished wall thickness
- Confirm blocking is installed and anchored for every wall-mounted item
Waterproofing Details and Failure Points
Waterproofing failures cause the worst water damage in a bathroom, and they almost always start at a seam, a penetration, or a change of plane, corners, shower threshold, niche, and around the drain. Focus on:
- Shower pan and curb, with the membrane lapped over the curb and down the outside face
- Wall-to-floor joints, where a flexible membrane or fabric tape bridges the change of plane
- Around the drain flange, where the membrane must bond to the clamping ring or bonding flange
- Behind the shower valve and every pipe penetration, sealed with the manufacturer's approved method
- Inside niches and benches, which are framed openings that interrupt the membrane
A low-threshold or curbless shower needs extra attention at the entry, and a linear drain changes how the pan slopes. Follow the membrane manufacturer's published details for every transition rather than improvising.
Flood testing is the checkpoint most homeowners skip. After the pan membrane is installed and before tile, plug the drain, fill the pan to the top of the curb (or the manufacturer's specified level), and let it sit for the period the membrane maker specifies, commonly 24 hours.
Permits, Building Codes, and Inspection Checkpoints
Most bathroom renovations that move, add, or replace plumbing require a permit. Skipping it can force a full tear-out later, or surface as a problem when you sell. Here's what triggers a permit, who may do the work, and what each inspection verifies. Compliance with these regulatory standards ensures that the infrastructure remains sound while you focus on the aesthetic details involved in choosing bathroom fixtures.
What Typically Triggers a Permit
A permit is usually required when the scope includes any of the following:
- Relocating a drain, supply line, or vent
- Adding a new fixture or a new fixture location
- Replacing a water heater
- Changing the size of a drain or supply line
- Altering the vent system
Cosmetic swaps, replacing a faucet, toilet, or showerhead at the same location, often don't require a permit, but rules vary by jurisdiction. A quick call to the local building department before demolition is the cheapest way to find out. Ask whether the work counts as a repair, an alteration, or new construction, because that classification drives the requirement.
Who Is Allowed to Do the Work
Most jurisdictions require plumbing work by a licensed plumber or by the homeowner on their own primary residence, and many limit homeowner permits to work the owner will occupy. Unlicensed work on someone else's property is generally not permitted and can void insurance coverage if something fails. If you hire a contractor, confirm who pulls the permit, the name on it is who the inspector holds responsible, so get it in writing before work starts.
Inspection Checkpoints and What Inspectors Look For
Permits trigger inspections at key stages. Each one is a gate, the next stage cannot proceed until it passes.
Rough-in inspection (before walls and floors close):
- Drain slope and pipe sizing
- Vent connections and termination
- Supply line material and protection
- Blocking and support for fixtures
- Pipe penetrations through framing
Waterproofing inspection (in wet areas, before tile):
- Membrane installation and lapping at seams and corners
- Drain flange and clamping ring connection
- Curb and threshold treatment
- Flood test results, if the jurisdiction requires one
Final inspection (after fixtures are set):
- Fixture installation and operation
- Toilet secure and sealed to the flange
- Shower and tub valves functioning and not leaking
- GFCI protection in wet locations
- Exhaust fan operation and venting to the exterior
Pressure Testing Before the Walls Close
One checkpoint that saves the most rework is a pressure test on the supply system. Cap the lines, pressurize to the level local code or the plumber's standard specifies, and hold it while inspecting every joint. A slow pressure drop means a leak in the rough-in, far better to find now than after tile. Drain lines are typically tested by filling them with water or by a smoke or air test; confirm which method the local inspector accepts before scheduling.
The Permit Process Protects You
The permit process protects you: it confirms the work meets code, gives you a record if you sell, and creates a paper trail showing the work was inspected, which matters for insurance claims and resale disclosures.
Check with your local building department for the specific requirements in your area, or review HUD's guidance on home improvements and permits for general guidance.
Moisture Control, Ventilation, and Mold Prevention
Mold needs moisture and still air. Fix both with proper ventilation: every full bathroom needs an exhaust fan vented to the outside, not into the attic, sized to the room and run during showers and for 15-20 minutes after. Moisture control also means:
- Sealing grout and caulk lines
- Fixing slow leaks immediately
- Choosing moisture-resistant materials in wet zones
- Keeping the shower threshold watertight
For health guidance on mold and indoor air quality, see the EPA's indoor air quality resources.
How to Verify Plumbing License and Insurance
Always verify a plumber's license and insurance before hiring, the single best way to protect yourself.
How to check:
- Ask for the license number and verify it with your state licensing board
- Request a certificate of insurance for general liability and workers' comp
- Confirm the insurance is current, not expired
- Get the contractor's business name and address in writing
A licensed plumber carries the training and insurance to do the job right; an unlicensed one leaves you holding the risk.
Questions to Ask a Plumbing Contractor Before You Hire
These questions separate a pro from a problem. Ask them before you sign anything.
- Are you licensed and insured, and can I see the numbers?
- Will you pull the permit, or do I need to?
- Who handles inspection scheduling?
- What's your process if the work doesn't hold up?
- How do you handle change orders and unexpected findings?
- Can you provide references for similar bathroom remodels?
A good contractor answers all of these clearly. If any answer feels vague, keep looking.
For consumer protection guidance, review the FTC's advice on hiring contractors.
Conclusion
Bathroom renovations reward planning and punish shortcuts. The plumbing mistakes that cost the most are the ones you can't see until it's too late.
At Colby Plumbing Company LLC, we've handled remodels and new construction across the Denver metro area since 1996.
Get started with Colby Plumbing Company LLC and avoid the plumbing mistakes that turn a simple remodel into a costly redo.
Frequently Asked Questions
What plumbing should be checked before remodeling a bathroom?
Before demolition, check for corroded fittings, leaks, water pressure, and the condition of supply and drain lines. A plumber should inspect pipe size, venting, and shut-off valves. This upfront check helps you avoid concealed damage and unexpected costs once walls are open.
What plumbing changes require a permit?
Most bathroom renovations that relocate fixtures, change drain lines, or add new supply lines require a permit and inspection. Cosmetic updates like swapping a faucet usually do not. Check with your local building department, because requirements vary by city and scope of work.
How do you verify a plumbing contractor's license and insurance?
Ask for the license number and verify it with your state or local licensing board. Request a certificate of insurance for general liability and workers' compensation, and call the insurer to confirm active coverage. This protects you from liability if a worker is injured or damage occurs.
How can you prevent leaks during a bathroom renovation?
Use proper waterproofing at the shower threshold and floor, pressure-test supply lines before closing walls, and install a pan liner correctly. Avoid piecing together mismatched fittings. After installation, run water and inspect all connections before finishing surfaces.