 blog
Common Plumbing Repair Mistakes to Avoid
Table of Contents
- Why Plumbing Repair Mistakes Cost More Than Professional Help
- Common DIY Plumbing Mistakes Homeowners Make
- Failing to Shut Off Water Before Starting Work
- Overtightening Fittings and Connections
- Applying Thread Tape Incorrectly
- Not Locating the Main Water Shutoff Valve
- Relying on Chemical Drain Cleaners
- Using the Wrong Tools or Improper Techniques
- Ignoring Small Leaks or Slow Drains
- Attempting Repairs Beyond DIY Skill Level
- Skipping the Post-Repair Check
- Plumbing Repair Safety Tips Every Homeowner Should Know
- When to Call a Plumber Instead of DIY
- Essential Plumbing Tools for Homeowners
- Pipe Materials and Connection Types Matter
- Frequently Asked Questions
Last Updated: October 8, 2026
Why Plumbing Repair Mistakes Cost More Than Professional Help
DIY plumbing repairs might seem like a way to save money, but a single mistake can turn a $200 fix into a $2,000 disaster. Water damage spreads fast, ruining walls, flooring, and foundations, and insurance rarely covers damage from improper repairs.
At Colby Plumbing Company LLC, we've seen homeowners compound small problems into major emergencies: someone tries to save money upfront, makes a critical error, and pays far more for repairs plus water damage restoration.
The mistakes covered in this guide are the ones we see most often, and the most expensive to fix after the fact.
Common DIY Plumbing Mistakes Homeowners Make
Most DIY plumbing failures trace back to four buckets: preparation failures, technique problems, tool misuse, and skipping the recovery step.
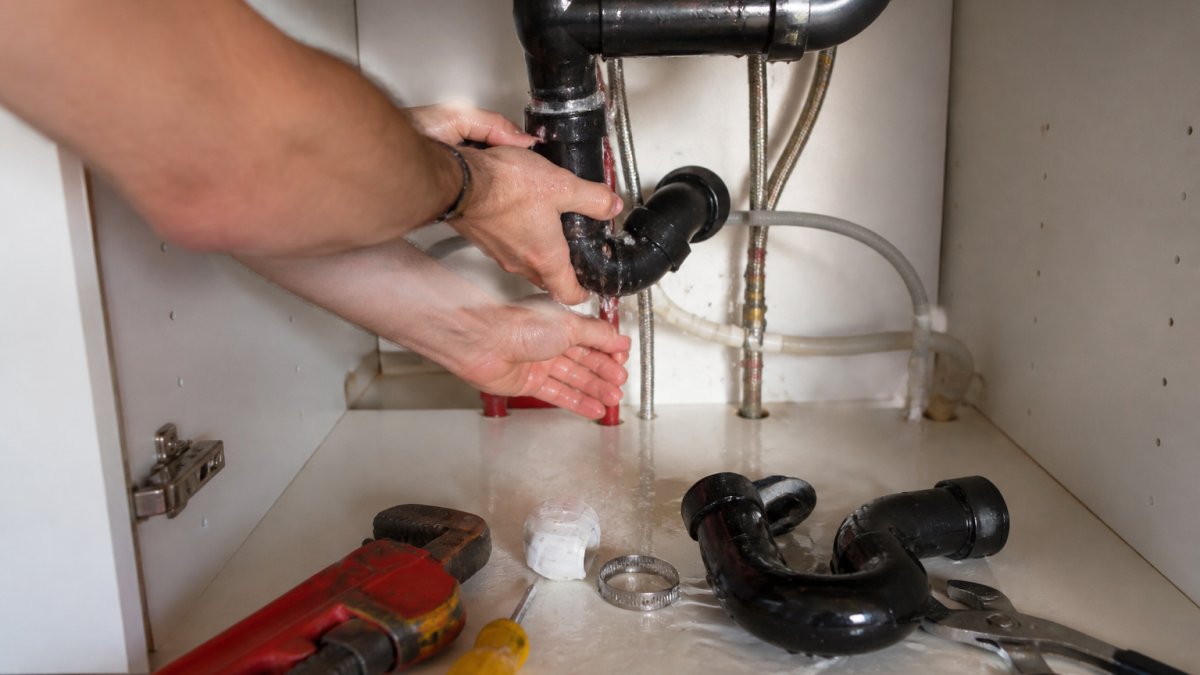
Failing to Shut Off Water Before Starting Work
Starting a repair with the supply still live turns a controlled fix into an active flood. Water travels through cabinet bases, under flooring, into the wall cavity, and down to the ceiling below.
Before touching any fitting, valve, or pipe:
- Locate your main water shutoff valve and any fixture-specific shutoff (angle stops under sinks and toilets).
- Turn the main clockwise until it stops. Gate valves can require several full turns; ball valves stop at 90 degrees.
- Open the lowest faucet in the house (typically a basement sink or hose bib) to drain residual pressure.
If you've already started and water is running: stop work, close the shutoff, and dry the area immediately. If water reached drywall or subfloor, photograph it before it dries for a possible insurance claim.
Overtightening Fittings and Connections
Plumbing connections seal through thread engagement, sealant, and a compression ring or gasket, not brute force.
Different connection types have different limits:
- Threaded metal-to-metal: tighten until snug, then about a quarter-turn more. Thread tape or pipe dope does the sealing, not torque.
- Compression fittings (copper, PEX): hand-tight plus about one to one-and-a-half turns with a wrench. Over-tightening crushes the ferrule and cuts the tube.
- Plastic (PVC, CPVC) threaded fittings: hand-tight plus a quarter-turn. Plastic threads strip long before metal ones do.
Signs you've already over-tightened: a hairline crack in the fitting body, water weeping from a valve base, a fitting that won't back off, or a leak appearing hours after the repair looks dry.
Recovery: if a fitting is cracked or threads are stripped, replacement is the only fix. Shut off the water, drain the line, cut out the damaged section, and install a new fitting.
Applying Thread Tape Incorrectly
Thread tape (PTFE, or plumber's tape) lubricates threads and fills microscopic gaps. It is not a glue and won't seal a damaged thread.
The correct method:
- Wrap clockwise when viewed from the end of the male threads, so the tape tightens as the fitting screws on.
- Use 2 to 3 wraps for most residential connections; 3 to 4 for larger-diameter or higher-pressure joints.
- Keep the tape back one thread from the end so it doesn't shed into the water line.
Wrapping counterclockwise makes the tape peel back as you tighten. Too little leaves gaps; too much prevents seating and can crack plastic threads.
Material matters: thread tape is for threaded connections only.
Not Locating the Main Water Shutoff Valve
When a supply line bursts, the difference between a wet floor and a flooded house is measured in seconds. Homeowners who don't know where their shutoff is lose that time searching.
Where to look:
- Basement or utility room, near the water meter or where the main enters the foundation.
- Ground-floor utility closet or garage wall.
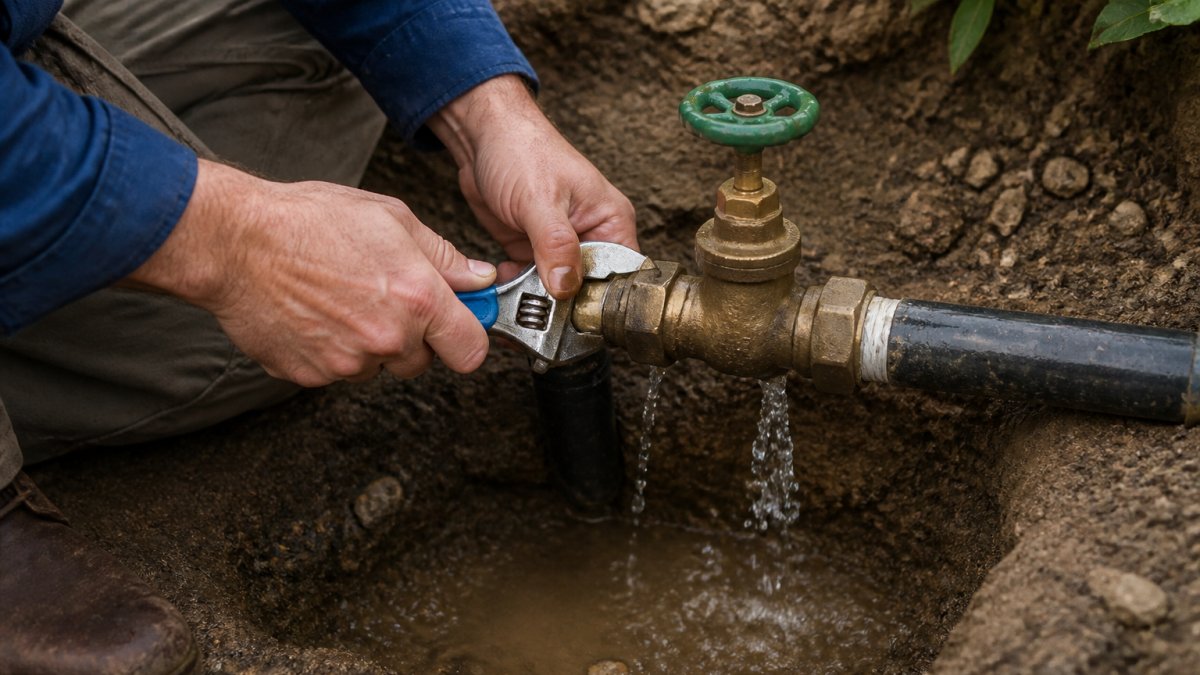
- Outside in a buried curb-stop box near the property line (this is often the utility's valve, not yours, know the difference).
Test it now, not during an emergency: turn it fully closed, open a faucet to confirm flow stops, then open it back up. Do this twice a year.
Relying on Chemical Drain Cleaners
Chemical drain cleaners are caustic (sodium hydroxide) or acid-based (sulfuric acid).
The failure mode is predictable: the cleaner eats a channel through the clog, the drain flows, and the homeowner assumes it's solved.
Safer alternatives, in order of escalation:
- Plunger: cup-style for sinks and tubs, flange-style for toilets. Seal the overflow with a wet rag for best suction.
- Drain snake (auger): a hand-crank 1/4-inch snake reaches 15 to 25 feet and clears most sink and tub clogs.
- Trap removal: for kitchen and bathroom sinks, removing the P-trap and cleaning it by hand is often faster than any chemical.
If you've already used a chemical cleaner: flush the drain with plenty of cold water and tell any plumber you call.
Using the Wrong Tools or Improper Techniques
The wrong tool doesn't just fail, it damages the fitting and makes the next attempt harder.
Common mismatches:
- Adjustable wrenches on pipe fittings: the jaws slip and round off the flats. Use a pipe wrench or a properly sized open-end wrench.
- Pliers on chrome or finished fittings: the teeth gouge the surface and create a corrosion site. Use a strap wrench or tape the jaws.
- Hacksaw on copper or PEX: leaves burrs and rough cuts that won't seal. Use a tubing cutter for copper and a PEX-specific cutter for PEX.
A basic homeowner kit that covers most repairs:
- Two pipe wrenches (10-inch and 14-inch)
- Basin wrench for under-sink faucet work
- Cup plunger and flange plunger
If you've already damaged a fitting with the wrong tool: stop. A rounded-off nut or a gouged chrome surface will not seal reliably. Replace the fitting rather than trying to salvage it.
Ignoring Small Leaks or Slow Drains
A drip that fills a cup a day adds up to roughly 20 gallons a month inside your cabinet or wall.
What to watch for:
- Water stains on cabinet floors or ceiling drywall below a bathroom.
- A musty smell in a cabinet or utility room.
- A water meter that ticks up when no fixtures are running.
If you've been ignoring a leak: shut off the fixture supply, dry the area, and inspect the connection. If the leak is behind a wall or under a slab, stop and call a professional, that's a leak-detection job, not a DIY repair.
Attempting Repairs Beyond DIY Skill Level
Some repairs are within reach for a careful homeowner. Others are not, and the line is clearer than most people think.
Stop-work criteria, call a licensed plumber if any of these are true:
- The leak persists after you've replaced the fitting or tightened the connection correctly.
- A supply line or drain line is visibly damaged, kinked, or corroded along its length, not just at the joint.
- Sewage is backing up into multiple fixtures, which points to a main-line blockage.
Repairs that typically require a licensed professional:
- Water heater repair or replacement (and any work involving the T&P valve or gas connection).
- Gas line work, licensed and permitted in every jurisdiction.
- Sewer line and main water line repairs.
Skipping the Post-Repair Check
Many DIY leaks don't show up immediately. A joint that weeps under pressure can stay dry for hours, then drip once the system heats up and the metal expands.
After any repair:
- Restore water slowly. Open the main valve partway, let the system pressurize, then open it fully.
- Watch the repaired joint for a full minute with a dry paper towel held against it.
- Run hot water through the line for several minutes to check the joint under thermal expansion.
If you find a leak on the second check, shut the water off and re-do the joint. Do not add tape or dope on top of a leaking assembly, disassemble, clean, and rebuild it.
Plumbing Repair Safety Tips Every Homeowner Should Know
Most plumbing content treats mistakes as property-damage problems, but the bigger risk is personal injury. Plumbing work combines water, electricity, heat, sharp edges, and, with chemical cleaners, caustic residue, sending thousands of homeowners to emergency rooms every year.
Electrical Hazards Near Water
Water and electricity are the most dangerous combination in a plumbing repair.
Before you start any repair:
- Identify which circuit feeds the area. If you're unsure, shut off the breaker for the room at the panel.
- Never work on a water heater, sump pump, garbage disposal, or dishwasher without killing power at the breaker first.
- Do not stand in standing water while using a corded tool. Use battery-powered tools when possible.
If water has reached an outlet or panel: do not touch it. Shut off the main breaker from a dry location if you can do so safely, then call an electrician. Water-damaged wiring is a fire risk even after the area looks dry.
Scalding and Hot-Water Hazards
Water heaters store water at 120 to 140 degrees Fahrenheit; at 140, a third-degree burn can occur in about five seconds. Draining a tank, opening a T&P valve, or working a hot-water line without letting it cool is a common cause of serious burns.
- Shut off the water heater (gas valve or breaker) and let it cool for at least an hour before draining.
- Open a hot-water faucet downstream to confirm the line is depressurized and cool.
- Never open the T&P valve on a hot tank to "check" it, that valve can discharge scalding water and may not reseat.
Chemical Exposure
If a chemical drain cleaner has been used in the line you're working on, treat the entire drain as contaminated. Caustic and acid cleaners both cause chemical burns on skin contact and severe eye injury. Mixing the two, even sequentially without flushing, can produce heat, fumes, or a violent reaction.
- Flush the drain with cold water for several minutes before disassembling any trap or fitting.
- Wear chemical-resistant gloves and sealed eye protection, not just safety glasses.
- Never use a plunger or snake on a drain that still contains chemical cleaner, it can splash back.
Safe Tool Use
Most plumbing injuries are hand injuries. Pipe wrenches slip, tubing cutters leave burrs, and screwdrivers cam out of slots and into knuckles.
- Wear cut-resistant gloves when handling cut copper or PEX, and when working around the sharp edges of a sink cabinet.
- Use the right-size wrench. An undersized wrench slips; an oversized one rounds the fitting.
- Cut away from your body with tubing cutters and PEX cutters.
Personal Protective Equipment
A minimal PPE kit for plumbing work:
- Safety glasses or sealed goggles (splash protection, not just impact)
- Nitrile or chemical-resistant gloves
- Cut-resistant gloves for pipe handling
Asbestos and Older Homes
Homes built before roughly 1980 may have asbestos-containing insulation on pipes, in floor tile, or in joint compound; disturbing it releases fibers that cause long-term lung disease. In a pre-1980 home, if you don't know the material's composition, stop and have it tested before cutting into a wall or removing pipe wrap.
Working Alone
Never work alone on a repair involving the main water supply, a gas line, or a water heater. If a valve won't close, a fitting fails under pressure, or you slip on a wet floor, you need a second person who can shut off water, kill power, or call for help. It's the easiest safety rule to follow and the one most often ignored.
When to Call a Plumber Instead of DIY
Certain repairs require professional expertise. Knowing the difference saves money and prevents disasters.
Call a professional plumber for:
- Main water line repairs or replacements
- Sewer line issues (backups, slow drains throughout the house)
- Water heater repairs or replacement
These repairs require permits, specialized tools, and licensing. A mistake here doesn't just cost money, it creates safety hazards and code violations.
Colby Plumbing Company LLC handles these complex repairs efficiently. Our licensed professionals have the experience and tools to get it right the first time, with guarantees that protect your home and investment.
Essential Plumbing Tools for Homeowners
A small toolkit handles most common repairs. You don't need everything at once, build it gradually.
| Tool | Best For | Why It Matters |
|---|---|---|
| Pipe wrench (adjustable) | Tightening and loosening fittings | Grips round pipes without slipping |
| Basin wrench | Faucet repairs under sinks | Reaches tight spaces other wrenches can't |
| Plunger (cup-style) | Unclogging sinks and tubs | Creates suction to dislodge clogs |
| Plunger (flange-style) | Unclogging toilets | Flange seals the drain opening properly |
| Plumbing snake | Removing deep clogs | Breaks through blockages without chemicals |
| Adjustable wrench | General tightening and loosening | Works on various fitting sizes |
| Flashlight or headlamp | Seeing inside cabinets and walls | Makes repairs faster and safer |
| Screwdrivers | Removing covers and panels | Essential for accessing repair areas |
Start with the basics: a pipe wrench, plunger, and flashlight. Add specialized tools as you encounter repairs that need them.
Pipe Materials and Connection Types Matter
PVC plastic pipes are standard in modern homes, affordable but temperature-sensitive.
Galvanized steel pipes are found in very old homes.
PEX tubing is increasingly common, flexible and durable.
Understanding your pipe material before you start prevents damage.
Common plumbing repair mistakes are expensive, dangerous, and preventable.
Colby Plumbing Company LLC has served the Denver metro area since 1996.
Frequently Asked Questions
What are the most common plumbing repair mistakes homeowners make?
The most frequent errors include failing to shut off water before repairs, overtightening fittings and connections, applying thread tape incorrectly, and not knowing where the main water shutoff valve is located. Many homeowners also rely too heavily on chemical drain cleaners as a first resort and attempt repairs without proper tools or knowledge. These mistakes often lead to water damage, additional leaks, and expensive professional repairs that could have been prevented.
When should you call a plumber instead of attempting a repair yourself?
Call a professional plumber for burst pipes, water heater issues, main water line problems, complex drain blockages, and any repair involving the main water shutoff valve. If you're uncertain about the repair, lack proper tools, or the problem involves multiple connections or different pipe materials, professional help is the safer choice. Water damage from failed DIY repairs can cost thousands to fix, making professional service a worthwhile investment for anything beyond basic maintenance.
How do I locate and test my main water shutoff valve?
The main water shutoff valve is typically located near the water meter, either in the basement, crawl space, or outside near the foundation. It's usually a ball valve or gate valve. Once you find it, turn it clockwise to close and verify water stops flowing from a faucet. Turn it back counterclockwise to restore flow. Test this before an emergency occurs so you know exactly where it is and how it works. If you can't find it, a professional plumber can show you during a service visit.
What's the correct way to apply plumber's thread tape?
Wrap thread tape clockwise around the male threads three times, pulling it tight as you wrap. The tape should cover the threads completely without overlapping itself. Wrap in the direction the fitting will turn when tightened. Too little tape may cause leaks; too much can make connections difficult to tighten.