 how-to
How to Prepare for a Professional Plumbing Installation Visit
Table of Contents
- Before the Visit: Confirm Scope, Access, and Timing
- Your Plumbing Installation Checklist for the Week Before
- Clear the Work Area: Access, Obstacles, and Floor Protection
- Plan for Water Shutoff and Service Interruption
- Building Access and Logistics for the Plumbing Service Visit
- How Long Does Plumbing Installation Take? Setting a Realistic Timeline
- Understanding Your Plumbing Installation Cost Estimate
- After the Installation: Final Inspection, Testing, and Handoff
- Frequently Asked Questions
Last Updated: October 15, 2026
Before the Visit: Confirm Scope, Access, and Timing
A professional plumbing installation visit goes smoothly when you confirm three things before the truck arrives: the exact scope of work, how the technician will access the space, and the time window for the job.
Preparation is not busywork. It is the difference between a one-day install and a three-day headache.
Here is what most homeowners get wrong: they treat the appointment as the starting line. In practice, the work begins the moment you book it.
What to Confirm Before Appointment Day
Most ranking guides tell you to "ask questions." Few tell you what a complete answer looks like. Before the visit, you should be able to write down five things and have the plumber agree to them in writing: Securing these commitments provides a necessary foundation for hiring a plumber while ensuring that both parties remain aligned on the scope and expectations of the project.
- Scope of work. Which fixtures, pipes, or equipment are being installed, and which are explicitly excluded. "Replace kitchen faucet" is not a scope, "remove and dispose of existing faucet, install customer-supplied faucet, replace supply lines and shutoff valves, test for leaks" is.
- Written estimate. A line-item estimate that separates fixtures and materials, labor, and permit fees. Ask whether it is a fixed quote or an hourly rate. Fixed quotes protect you when a job runs long; hourly rates can climb fast.
- Materials and who supplies them. If you are buying the fixture, confirm the model number and that the plumber has reviewed it for compatibility. A fixture the plumber has not seen can stall the job on installation day.
- Permits. Most jurisdictions require a permit for water heater replacement, gas line work, and any change to the plumbing system. Ask directly: "Do you pull the permit, or do I?" Get the answer in writing, and ask who schedules the inspection.
- Arrival window and crew size. A two-hour window is realistic; "sometime Tuesday" is not. Ask how many technicians will arrive and whether a second trip is likely for inspection.
Questions to Ask a Plumber Before Installation Day
Ask these questions when you schedule, not when the technician is standing in your kitchen:
- What exactly is included in the written estimate, and what is excluded?
- Will you need to shut off the main water supply, and for how long?
- What is the warranty on labor, and what is the manufacturer's warranty on parts?
Get the answers in writing. A written estimate protects you from surprise charges, and a written scope protects you from a job that stops halfway because no one agreed on where it ended.
Your Plumbing Installation Checklist for the Week Before
A plumbing installation checklist for the week before keeps small tasks from becoming day-of emergencies. Run through it seven days out, then again the night before.
One week before:
- Confirm the appointment date and arrival window in writing
- Ask about permits and building code requirements
- Clear a path from the door to the work area
- Move valuables out of the room
The night before:
- Empty the cabinet under the sink
- Set out pets in a closed room or with a sitter
- Park cars so the service vehicle has clear access
- Charge your phone for photos and notes
Household and Pet Safety During Installation
Pets and children should stay out of the work zone for the full visit. Plumbers use tools, solvents, and open flames, and a curious pet underfoot is a real hazard.
Set up a closed room with water, a bed, and a toy. For nervous animals, a sitter or daycare is worth the cost.
Keep these out of the work area too:
- Cleaning chemicals stored under the sink
- Loose rugs that trip
- Breakable decor on counters
Clear the Work Area: Access, Obstacles, and Floor Protection
Clearing the work area means removing obstacles and protecting floors before the technician arrives. A clear space speeds up the job and lowers the risk of damage to your home.
Start under the sink. Empty every cabinet the plumber will open.
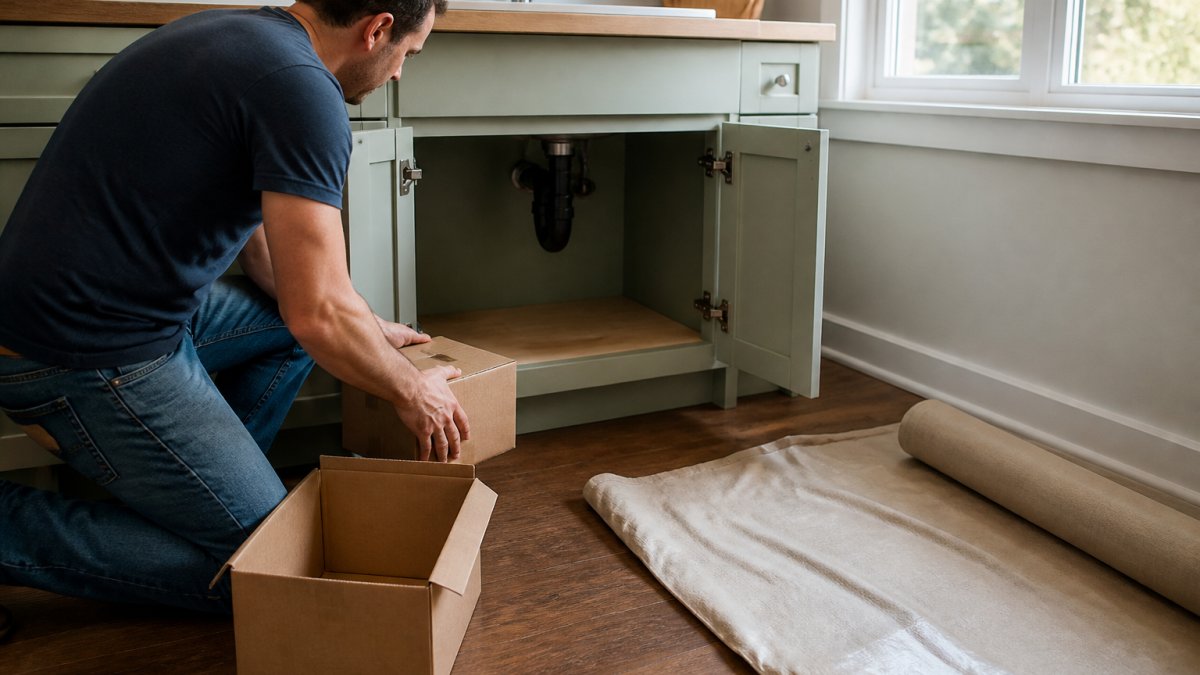
Then widen the path. Move furniture, plants, and trash cans out of the hallway and doorway.
Protect what stays:
- Lay drop cloths or old towels on the floor
- Tape plastic sheeting over nearby counters
- Move fragile items to another room
Plan for Water Shutoff and Service Interruption
Water shutoff and service interruption planning should happen before the visit, not during it. Most installs require the main supply to be off for part of the day.
Find your main shutoff valve now. Test it. A valve that will not close is a problem you want to discover early.
Then plan around the outage:
- Fill pitchers and a few bottles for drinking
- Skip laundry and dishwashing that day
- Warn household members about toilet use
- Know where the water heater shutoff is too
If you run a home business or rent the space, tell affected people in advance. A short heads-up prevents a lot of frustration.
Building Access and Logistics for the Plumbing Service Visit
Building access and logistics decide how fast the plumbing service visit actually starts. A technician who cannot reach the work area loses time before touching a single pipe.
For a house, park your cars on the street. Leave the driveway open for the service vehicle.
For a condo or commercial building, handle these first:
- Reserve the freight elevator if one is needed
- Get a parking pass or loading zone permit
- Notify building management of the visit
- Confirm the technician can enter without a long wait
How Long Does Plumbing Installation Take? Setting a Realistic Timeline
Most single-fixture plumbing installations take a few hours to a full day, while larger jobs like a bathroom rough-in or water heater replacement can run two to three days.
Here is a rough guide. Your plumber should give you a specific window in the estimate.
| Installation Type | Typical Duration | Main Time Drivers |
|---|---|---|
| Faucet or fixture swap | 1-3 hours | Access, shutoff condition |
| Toilet replacement | 1-2 hours | Floor flange condition |
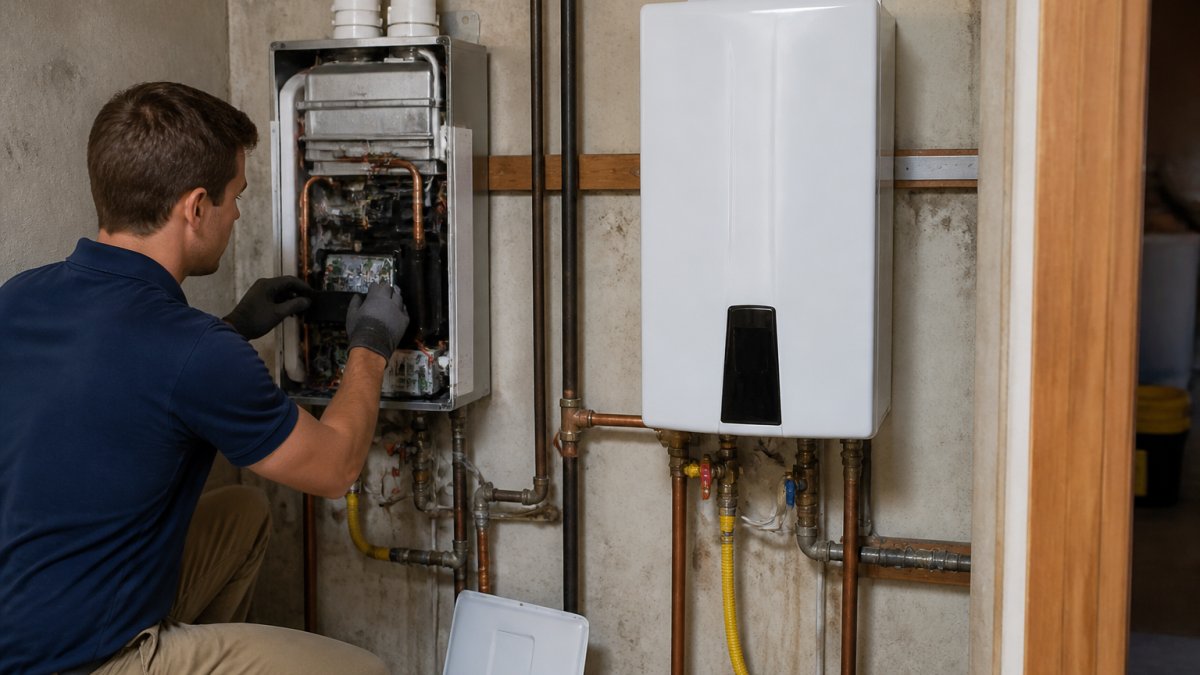
| Water heater replacement | 3-6 hours | Venting, code updates |
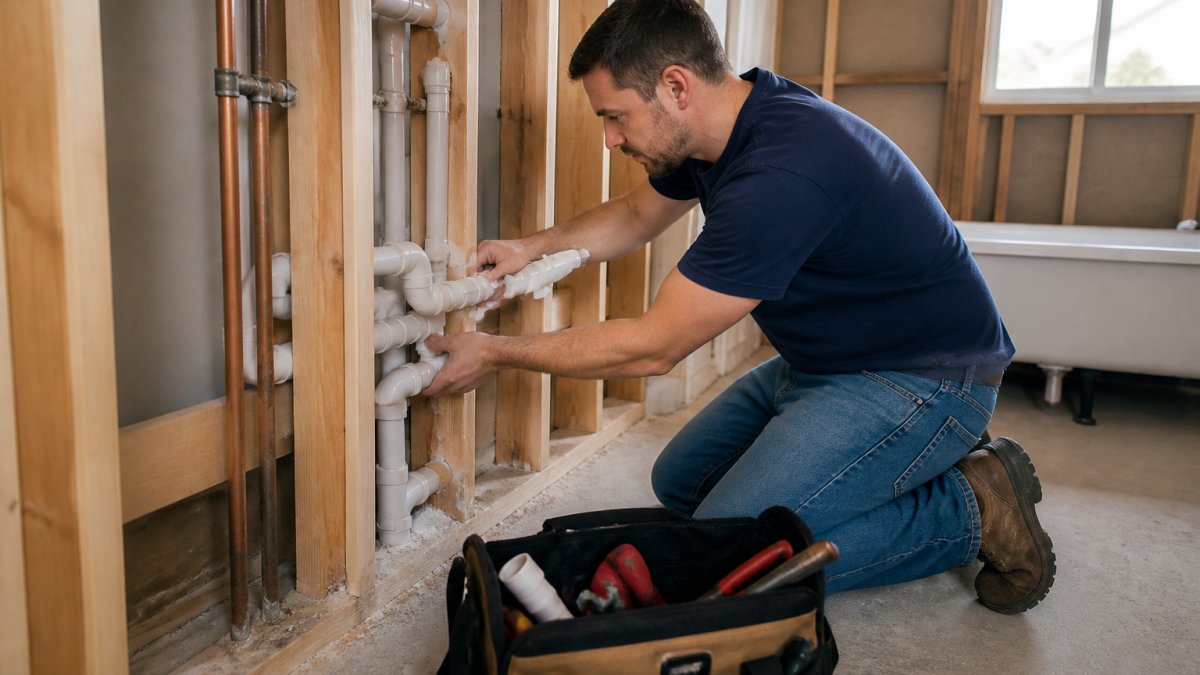
| Bathroom rough-in | 2-3 days | Wall opening, inspections |
Ask for the estimate in writing. A clear timeline tells you how much of your day to block off.
Understanding Your Plumbing Installation Cost Estimate
A plumbing installation cost estimate should list parts, labor, and any permit fees as separate lines. If it is one lump number with no breakdown, ask for detail before you approve.
What a fair estimate includes:
- Fixtures and materials, itemized
- Labor hours or a flat rate
- Permit costs, if required
- A note on what happens if hidden damage appears
Get the final scope in writing. Then compare it to the invoice after the work is done.
After the Installation: Final Inspection, Testing, and Handoff
The job is not finished when the water comes back on. Final inspection and testing confirm the work holds before the technician leaves, and the handoff documents it so you are covered months later if something fails.
The Walkthrough Checklist
Walk through these steps together with the technician, not after they leave:
- Run every fixture that was touched and check for leaks at each connection
- Watch the water pressure at each tap while other fixtures run
- Listen for unusual noises, hammering, gurgling, or a running toilet
- Check under cabinets and around the new installation for drips
If a permit was pulled, the inspection is a separate step. Do not assume the plumber's walkthrough replaces the municipal inspection, ask who schedules it and when.
What to Collect Before the Technician Leaves
This is the part most homeowners skip, and it is the part that matters when you sell the home, file an insurance claim, or need warranty service:
- Final invoice with the itemized scope, materials, and labor
- Written estimate you approved, for comparison against the invoice
- Permit number and inspection sign-off, if applicable
- Manufacturer warranty documents for any fixtures or equipment installed
Keep all of it in one folder, physical or digital. If you sell the home, this folder is a selling point. If you file a warranty claim, it is the first thing the manufacturer asks for.
Register the Warranty and Note the Maintenance Schedule
Manufacturer warranties on water heaters, fixtures, and appliances often require registration within a set window after installation. Register the product the same week the work is done, and note the model and serial number in your folder.
Ask the plumber two closing questions:
- What maintenance does this installation need, and how often?
- What is the first sign of a problem I should watch for?
Write the answers down. A water heater that needs an annual flush, a fixture cartridge that should be replaced every few years, or a shutoff valve that should be exercised twice a year, these are the details that determine whether the installation lasts its full rated life.
At Colby Plumbing Company LLC, we have served the Denver metro area since 1996, and we back our work with a 100% satisfaction guarantee. Our licensed technicians walk you through the final inspection and hand off the documentation you need, so you know the job was done right and you can prove it later.
Frequently Asked Questions
Should I turn off the water before a plumber arrives for an installation?
You do not need to shut off the main water supply yourself unless the plumber asks you to. A professional technician will locate and operate the shutoff valve as part of the plumbing installation process. If you know where your main shutoff valve is, point it out when they arrive. This saves time and ensures the water supply is safely controlled before any pipes are disconnected.
What should I move or clear before a plumber starts work?
Clear a path to the work area and remove items from under sinks, inside cabinets, and around the fixture being installed. Move fragile items, electronics, and small furniture at least a few feet away. If pets or children are present, secure them in a separate room. A clear work area lets the plumber move efficiently and reduces the risk of damage to your belongings.
How do I verify a plumber is licensed and insured before the visit?
Ask for the license number and insurance certificate before the appointment. You can verify a plumbing license through your state or local licensing board, and request a certificate of insurance directly from the company. A qualified professional will provide these without hesitation. This step protects you if something goes wrong during the plumbing installation and confirms the company meets local requirements.
What should I check after a plumbing installation is complete?
Run water at every fixture connected to the new installation and watch for visible leaks, slow drainage, or unusual noises. Check under sinks and around supply lines for moisture. Confirm the water pressure feels normal and that hot and cold lines are connected correctly. Ask the plumber to walk you through the final inspection and testing, and get any warranty or documentation in writing before they leave.
A plumbing installation can disrupt your home for days if it is planned poorly, or barely interrupt your routine if it is planned well. Colby Plumbing Company LLC makes that second outcome the norm, not the exception. Our licensed, seasoned professionals arrive when we say we will, charge what we quoted, and stand behind every job with a 100% satisfaction guarantee. Contact us today to schedule your installation and get a clear written estimate before work begins.