 How-to
How to Clean Mineral Buildup From Showerheads
Table of Contents
- Why Showerheads Develop Mineral Buildup
- Supplies to Clean Showerhead Deposits
- How to Clean a Showerhead Without Taking It Off
- How to Clean a Showerhead Without Vinegar
- How to Clean Showerhead Rubber Nozzles and Spray Holes
- How to Clean a Showerhead With a Toothpick
- Removing the Showerhead for a Deeper Clean
- When to Call Colby Plumbing About a Clogged Showerhead
- Frequently Asked Questions
Last Updated: November 8, 2026
Why Showerheads Develop Mineral Buildup
Mineral buildup is a crusty layer of calcium and magnesium that settles out of hard water and hardens onto your showerhead. Every gallon that passes through leaves a little more behind. Over months, those deposits narrow the spray holes and change how your shower feels.
The mechanics are simple. Hard water carries dissolved minerals. When that water evaporates or sits in the spray face, the minerals stay put and form limescale. The result is a clogged showerhead with weak, crooked streams.
Watch out: the biggest mistake is waiting until the spray is fully blocked. By then, deposits have hardened into a shell that takes far more work to dissolve.
Here is what you will notice as buildup grows:
- Streams that spray sideways instead of straight
- Uneven water flow between nozzles
- A chalky white or gray film on the spray face
- Lower water pressure that gets worse each week
This guide shows you how to clean mineral buildup from showerheads step by step, and when to stop scrubbing and call for help.
Supplies to Clean Showerhead Deposits
A short supply list keeps the job quick. You probably own most of it already.
Gather these before you start:
- White vinegar
- A plastic bag and a rubber band
- A soft cloth
- An old toothbrush or soft brush
- A small bowl
- A toothpick
- Warm water
Skip harsh tools. A common mistake is reaching for steel wool or a stiff wire brush. Those scratch the finish and open the door to rust.
A note on safety: never mix vinegar with bleach or other cleaners. The combination releases harmful fumes (the CDC). Rinse the showerhead with water before trying any second product.
How to Clean a Showerhead Without Taking It Off
You can clean most showerheads while they stay attached. The bag method does the work for you.
- Fill a plastic bag with white vinegar, enough to cover the spray face.
- Slip the bag over the showerhead and secure it with a rubber band.
- Let it soak for 30 minutes to two hours, depending on how heavy the buildup is.
- Remove the bag and rinse with warm water.
- Wipe the spray face with a soft cloth.
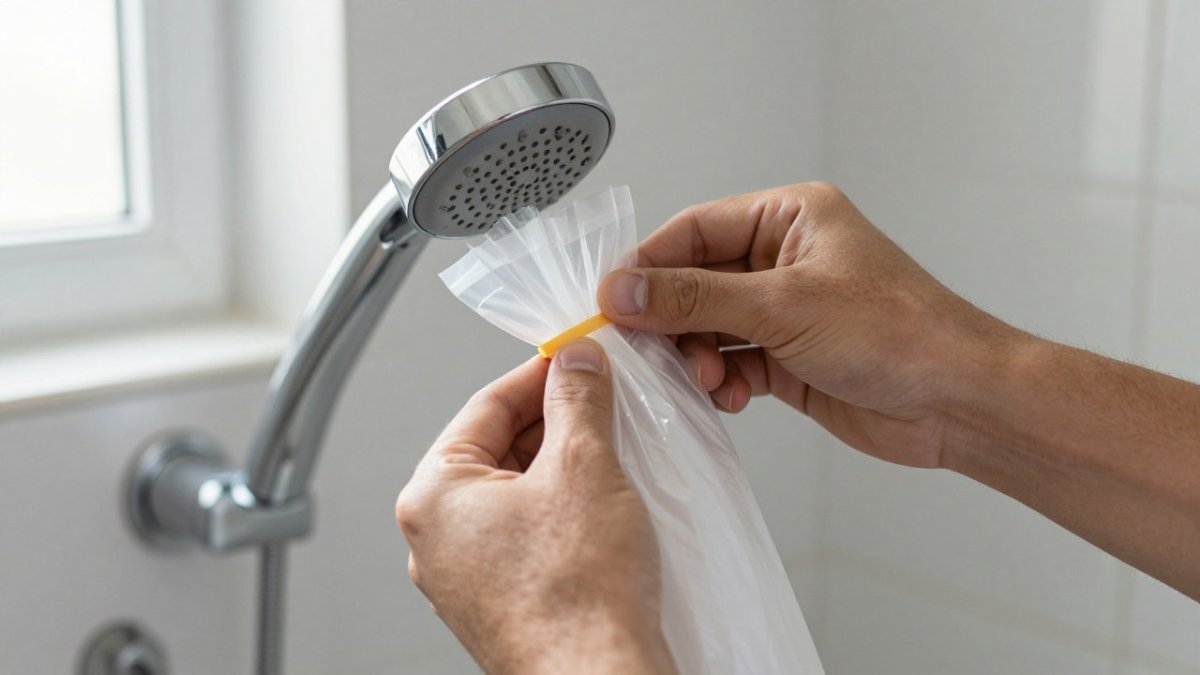
For stubborn spots, use a bowl of vinegar instead when the showerhead is low enough to dip. The soak time matters more than the scrubbing.
If mineral deposits keep returning fast, the water itself may be the issue. Our guide on what causes low water pressure in older homes explains how water quality and pressure problems connect.
How to Clean a Showerhead Without Vinegar
Vinegar is not your only option, and for some finishes it is not the best one. The right substitute depends on what the showerhead is made of and how heavy the scale is. The table below compares the three common non-vinegar routes so you can pick before you start.
| Method | Best for | Typical contact time | Finish cautions |
|---|---|---|---|
| Citric-acid solution | Heavy limescale, plastic and most metal finishes | 20-60 minutes | Dissolve per label; rinse thoroughly; avoid prolonged contact on painted or plated surfaces |
| Commercial calcium/lime/rust remover | Stubborn deposits, quick jobs | Follow label (often 2-10 minutes) | Test on hidden spot; some acids dull brushed or anodized finishes |
| Baking soda paste | Light surface film only | 5-10 minutes | Mild and safe on most finishes, but weak on hardened scale inside nozzles |
Citric acid. Mix according to the package directions. Soak the spray face using the bag method, then scrub with a soft brush and flush. Citric acid still needs a full rinse so residue does not dry on the surface.
Commercial descalers. Read the label twice: dilution, contact time, and ventilation requirements vary widely. Follow the product label for its treatment window, since exceeding it can damage a finish. Work in a ventilated bathroom, wear gloves, and never mix a descaler with vinegar, bleach, or another cleaner, combining acids with bleach releases harmful fumes.
Baking soda paste. Mix baking soda with a little water to a paste, apply to the spray face, let it sit five to ten minutes, and scrub gently. It lifts surface film but does not dissolve hardened calcium deep in the nozzles, so it is a maintenance step rather than a rescue for a fully clogged head.
Watch out: test any new cleaner on a hidden spot first. Brushed metals, painted finishes, and some plastics react badly to strong descalers, and damage often shows up only after the product dries.
For a gentler method, our article on using baking soda and vinegar for drain issues covers how these two household staples handle mineral and clog problems.
Typical contact time for non-vinegar showerhead cleaning methods
How to Clean Showerhead Rubber Nozzles and Spray Holes
Rubber nozzles collect deposits right at the opening. A quick scrub clears them.
- Soak the showerhead first, using the bag method above.
- Wet a soft brush or old toothbrush.
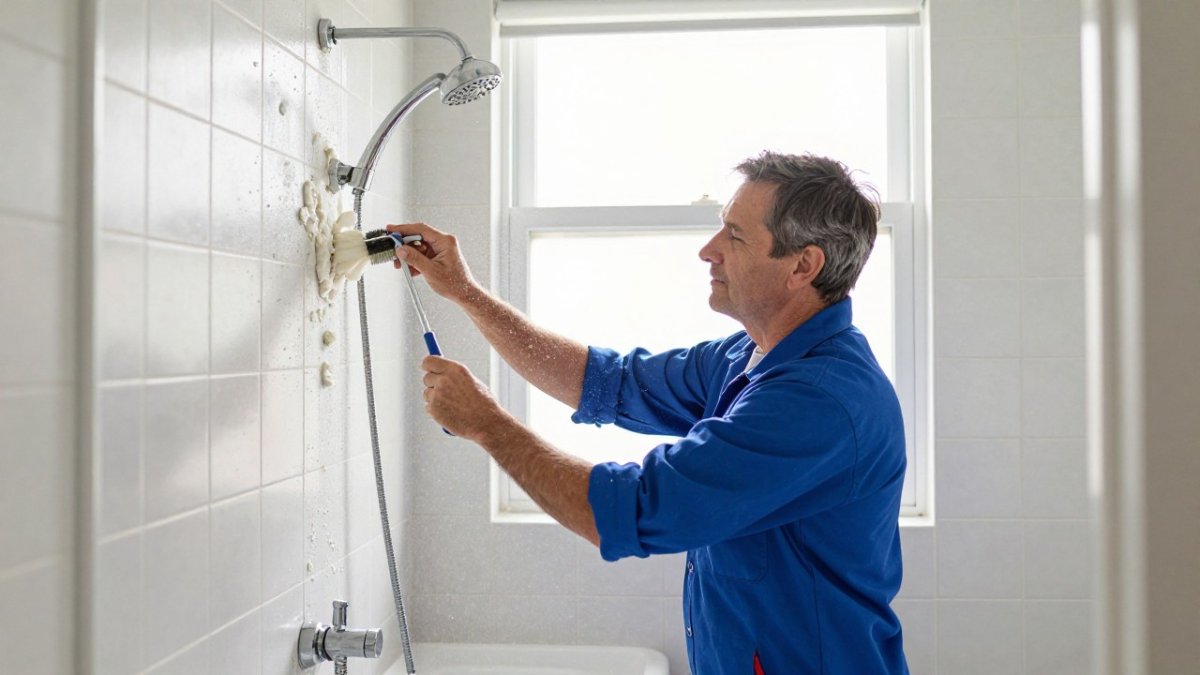
- Scrub each rubber nozzle gently in a circular motion.
- Flex the rubber tips with your thumb to break loose deposits.
- Flush with warm water and check the flow.
The soft brush reaches the spray holes without scratching. Skip anything abrasive. A toothbrush with worn bristles works better than a new, stiff one because it bends into the nozzles.
If a nozzle still sprays crooked after scrubbing, the clog sits deeper. Move to the toothpick step next.
How to Clean a Showerhead With a Toothpick
A toothpick clears the small spray holes a brush cannot reach. Use it after soaking, when deposits are soft.
- Soak the showerhead to loosen the minerals.
- Push a toothpick into each clogged spray hole.
- Twist gently to pull out loosened deposits.
- Rinse and flush the showerhead.
- Repeat on any holes still blocked.
Never use a pin, needle, or drill bit. Those scratch the inside of the nozzle and make future clogs worse. The toothpick is soft enough to clear the hole without damage.
This step handles clogged nozzles one at a time. If most holes are blocked, the deposits have spread, and a full soak or removal is the better fix.
Removing the Showerhead for a Deeper Clean
Removing the head is worth the extra five minutes when the spray face is heavily scaled, when the nozzles are clogged across most of the face, or when the head sits too high for a bag soak to cover it. If the flow is only slightly uneven and the head is easy to reach, stay with the bag method, removal adds risk of cross-threading or damaging the finish.
Before you remove it, check three things:
- Whether the manufacturer instructions allow soaking the whole head (some finishes and internal filters should not be submerged).
- Whether the connection is hand-tight or sealed with tape or thread compound.
- Whether the shower arm is stable, a loose arm can turn when you twist the head.
Follow these steps:
- Wrap the collar with a soft cloth to protect the finish.
- Turn the showerhead counterclockwise by hand.
- Soak the whole head in a bowl of white vinegar or a citric-acid solution for up to a few hours. Check the manufacturer instructions first.
- Scrub the spray face and nozzles with a soft brush, then flex rubber tips to break loose deposits.
- Rinse, then flush water through the head before reattaching.
- Wrap the threads with plumber's tape and screw it back on hand-tight. Do not overtighten (13 Plumbing Tricks of the Trade for Weekend Plumbers).
Match the cleaner to the finish. Follow the manufacturer instructions for your finish, and rinse any cleaner away completely. When in doubt, follow the manufacturer instructions over any general guide.
After reinstall, check the flow. Turn the water on and watch for leaks at the connection, then check that the spray is even. If flow is still weak, the clog may be in the internal filter screen or the shower arm rather than the spray face. Remove the head again and inspect the screen; a damaged screen or a cracked nozzle usually means replacement, not more cleaning.
Here is a quick way to decide which method fits:
| Situation | Best Method | Time |
|---|---|---|
| Light film, even flow | Bag soak, no removal | 30 minutes |
| Clogged nozzles, some flow | Bag soak plus toothbrush | 1-2 hours |
| Most holes blocked | Remove and soak in a bowl | 2 hours to overnight |
| Finish you are unsure about | Wipe with mild cleaner, check label | 2-3 minutes |
Watch out: if the head will not turn by hand, stop before you force it. A seized connection can crack the shower arm or strip the threads, turning a cleaning job into a repair.
When to Call Colby Plumbing About a Clogged Showerhead
Cleaning fixes buildup, but it will not fix a water problem. If the spray stays weak after a full clean, the cause is somewhere else.
Call a plumber if you notice:
- Low water pressure at every fixture, not just the shower
- Water that will not drain or backs up in the tub
- A leaking showerhead connection after reattaching
- Rust or damage on the shower arm or threads
- Buildup that returns within days
Colby Plumbing Company LLC has served the Denver metro area since 1996 and is family owned and operated. If you are unsure whether a DIY fix is enough, our guide on the signs you need to call a plumber for drain issues walks through the warning signs. When you are ready to hire, read how to choose a reliable local plumber before you book.
For a broader look at how water systems behave, the U.S. Environmental Protection Agency's guidance on hard water explains what minerals do to pipes and fixtures over time.
Mineral buildup is a maintenance chore, not a permanent fix. Clean your showerhead every few months, and it will keep a strong, even spray. If the flow stays weak after a thorough clean, the problem is deeper than scale. Colby Plumbing Company LLC can diagnose pressure and pipe issues, handle repairs and remodels, and respond fast when something fails. Our licensed team stands behind its work with a 100% satisfaction guarantee. Contact us today to restore steady water pressure in your home.
Frequently Asked Questions
How do you dissolve mineral deposits on a showerhead?
White vinegar is the most common method. Fill a plastic bag with white vinegar, tie it around the showerhead so the spray face is submerged, and let it sit for a suitable soak time. The acid dissolves calcium and limescale deposits inside the spray holes. For heavy buildup, consult the manufacturer instructions before extending soak time. Always check the manufacturer instructions first, because some finishes and finishes on plastic heads do not tolerate long acid contact.
Is CLR or vinegar better for cleaning a showerhead?
Vinegar handles routine calcium and limescale buildup well and costs very little. Commercial calcium, lime, and rust removers can be used when vinegar soaks have not restored water flow. The trade-off is that commercial descalers are stronger chemicals, so you must follow the label dilution and contact time, wear gloves, ventilate the bathroom, and keep them off certain finishes. Start with vinegar, and move to a commercial cleaner only if deposits persist after two treatments.
How do you clean a showerhead without taking it off?
You do not need to detach the head for routine cleaning. Fill a plastic bag with a vinegar solution, slip it over the showerhead, and secure it with a rubber band or twist tie so the spray face stays submerged. Soak for 30 minutes to two hours, remove the bag, scrub the nozzles with a toothbrush or soft brush, then run warm water for two to three minutes to flush loosened mineral deposits.
Can you clean showerhead rubber nozzles with a toothpick?
Yes. Rubber nozzles can trap calcium deposits in individual spray holes, and a toothpick can be used to clear them. After soaking the head in vinegar, push the toothpick gently into each clogged nozzle to pull out loosened deposits, then rinse and run the water. Never use a metal pin or needle, which can tear the rubber or scratch the spray face. If the nozzles are torn or stiff, replacement may be the better fix.