 How-to
7 Steps to Seal Basement Walls and Stop Water
Last Updated: November 12, 2026
Quick Summary
To seal basement walls, first diagnose whether you have slow seepage or an active leak, since active leaks must be repaired before any coating goes on. Then clean and vacuum the wall, repair cracks by width, let it dry fully, and apply a masonry sealer or waterproof coating rated for your wall type.
- Tape aluminum foil to the wall and check after 24 hours to rule out humidity.
- Hairline cracks under 1/16 inch take latex-cement patching compound or masonry crack filler.
- Leaking cracks wider than 1/8 inch need polyurethane injection, not surface filler.
- Residual dust left after scrubbing is the top cause of coating failure.
- A quote far below the others usually leaves out surface prep or crack repair.
Table of Contents
- Diagnose the Water Source Before You Seal Basement Walls
- How to Seal Basement Walls from Inside
- Preparing Concrete and Masonry Walls for a Waterproof Coating
- How to Seal Basement Wall Cracks
- Waterproofing Basement Walls from Inside Cost
- Waterproofing Basement Walls from Outside
- When Sealing Isn't Enough: Next Steps
- Frequently Asked Questions
Diagnose the Water Source Before You Seal Basement Walls
Water in a basement rarely comes from where it looks like it comes from. Before you buy a single bucket of sealer, find out whether you're dealing with seepage or an active leak.
Homeowners often waste weekends coating a wall that was never the real problem. The sealer can hold while the water simply finds a new path.
Seepage is slow moisture that wicks through concrete or masonry.
Here's a practical diagnostic sequence:
- Tape a square of aluminum foil to the wall and check it after 24 hours. Condensation on the room side means humidity, not a leak.
- Watch the wall during and after heavy rain. Water that appears within hours points to an exterior source.
- Check the floor-wall joint. Most seepage enters there, not through the field of the wall.
- Look for white powder (efflorescence). It means water is moving through the concrete and leaving salts behind.
If you can't pin down the source, methods to detect hidden water leaks can save you from sealing the wrong wall. And if you spot seepage, it's worth reviewing prevention practices before you commit to a coating.
Signs of Seepage vs. Active Leaks
Seepage is a slow, chronic problem. Active leaks are acute. Treat them differently.
- Seepage: damp walls, musty odor, efflorescence, paint peeling in sheets
- Active leak: visible drips, water trails, standing water, rust streaks at the base
- Both: cracks that darken after rain
Active leaks need repair before any coating goes on. Sealing over moving water traps it inside the wall, and that's how you get spalling concrete and mold.
How to Seal Basement Walls from Inside
Sealing from the inside is a common approach for many finished or occupied basements. It can address vapor movement and minor seepage without excavation.
The catch: interior sealers are negative-side waterproofing. They work against water pressure pushing from outside, which is the harder direction. Results are generally better on damp walls than on walls with standing water behind them.
Tools and Materials You'll Need
Gather everything before you start. Half of a failed sealing job is a mid-project supply run.
- Stiff-bristle brush and a wire brush
- Shop vacuum
- Patching compound or hydraulic cement
- Masonry sealer or waterproof coating (silicate-based or latex cement)
- 3/8-inch nap roller and a brush for edges
- Safety glasses, gloves, and a respirator
- Moisture meter (optional but worth it)
Watch out: Don't skip the respirator. Solvent-based sealers in a closed basement build fumes fast, and ventilation is limited by design down there.
Preparing Concrete and Masonry Walls for a Waterproof Coating
Preparation strongly influences how long a coating lasts. Sealer bonds to clean, sound concrete. It does not bond to dust, efflorescence, or loose paint.
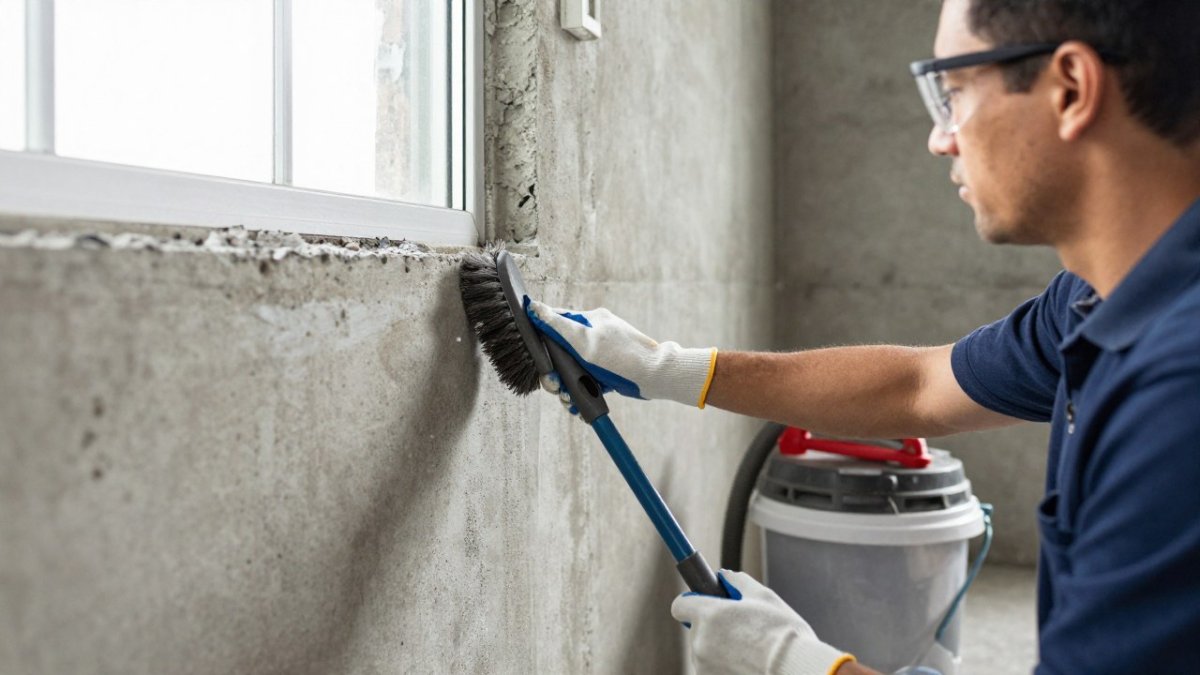
Cleaning, Drying, and Repairing Defects
Work through these steps in order:
- Scrub the wall with a stiff brush to lift dust, salts, and loose material.
- Vacuum everything. Residual dust is the top cause of coating failure.
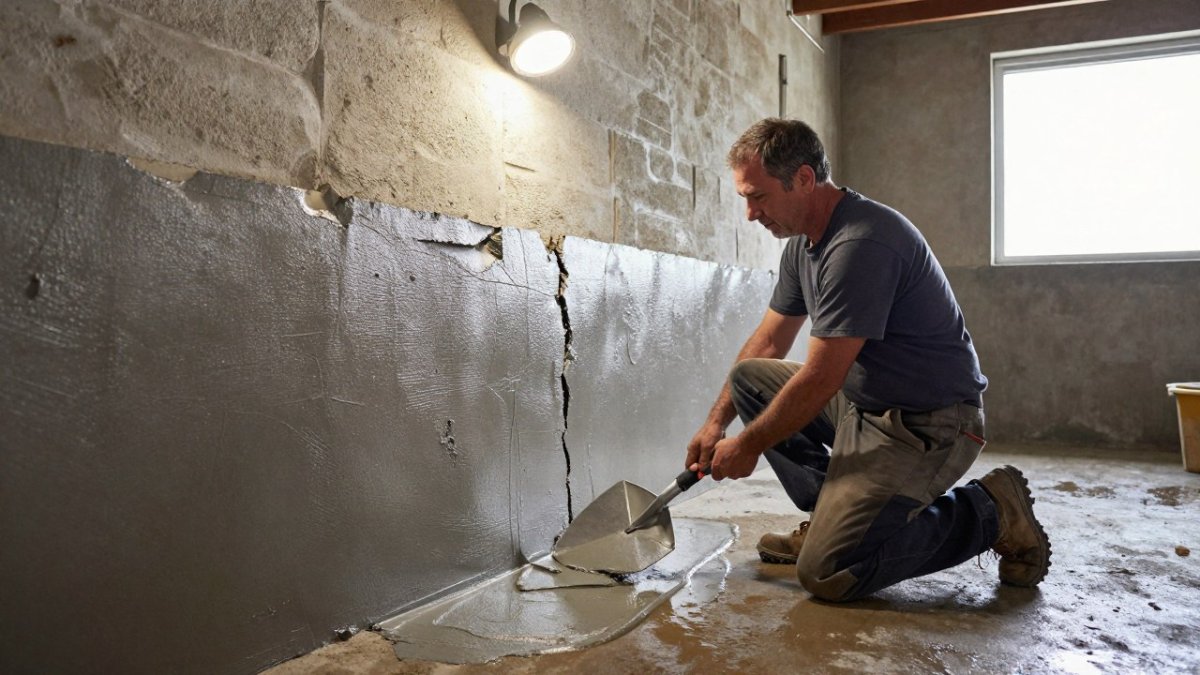
- Repair cracks and holes with patching compound or hydraulic cement. Press it in firmly and trowel flush.
- Dry the wall completely. Many coatings need a dry surface; check the label for the manufacturer's moisture limit.
- Test adhesion on a small patch before coating the whole wall.
A common mistake is coating a damp wall because the clock is ticking. Wet concrete pushes sealer off as it cures. Wait.
How to Seal Basement Wall Cracks
Crack repair is where most do-it-yourself sealing jobs go wrong, because the right method depends on three things: how wide the crack is, what the wall is made of, and whether water is currently moving through it. Treat every crack the same and you'll either waste money on overkill or watch a cheap patch fail within a season.
Match the Repair to the Crack Width
Measure the crack at its widest point before you buy anything.
- Hairline cracks under 1/16 inch: usually cosmetic shrinkage cracks in poured concrete. A latex-cement patching compound or a masonry crack filler is enough. Clean, dampen slightly, press in, and trowel flush.
- Cracks from 1/16 to 1/8 inch: still often non-structural, but too wide for a thin paint-on filler. Use a patching compound rated for masonry, or a polyurethane caulk if the crack is likely to move.
- Cracks wider than 1/8 inch, or any crack that leaks: these need injection or professional evaluation, not surface filler.
Surface caulk alone fails on a leaking crack because water pressure pushes it out from behind. The reliable method for an active leak is polyurethane injection, which expands as it cures and fills the full depth of the crack rather than just capping the face.
Poured Concrete vs. Concrete Block
The substrate changes the repair.
- Poured concrete walls crack in relatively straight vertical lines, usually from shrinkage or settlement. Vertical cracks are the most repairable; polyurethane injection works well because the crack is a single continuous void.
- Concrete block walls crack along mortar joints and are far more porous. Water often travels through the block itself, not just the crack, so patching a joint without addressing the wall's permeability rarely solves the problem. Block walls also commonly show stair-step cracks at the corners, which can indicate movement.
- Previously painted or coated walls need the old coating removed at the crack before any repair material goes on. New patching compound will not bond to a failing paint film, and the repair will peel off with the paint.
Product Compatibility Checks
Before you commit to a repair material, confirm three things on the label:
- Substrate match: the product is rated for concrete, block, or masonry, not just "masonry" generically.
- Moisture tolerance: whether it can go on a damp wall or requires a fully dry surface. Hydraulic cement is designed for active leaks; most patching compounds are not.
- Coating compatibility: if you plan to apply a sealer over the repair, confirm the patch and the sealer are from compatible chemistries. A latex patch under a solvent-based sealer can soften or blister.
A small test patch in an inconspicuous spot is the cheapest insurance you can buy. Apply the repair and the intended topcoat, wait the full cure time, and check adhesion before doing the whole wall.
Watch out: Never widen a structural crack or a horizontal crack in a block wall to "get more material in." Horizontal cracks signal pressure from outside, and stair-step cracks in block often mean movement.
If a crack keeps reopening after repair, the wall is still moving.
Match the repair method to the crack width before you buy anything.
| Crack width | Typical cause | Recommended repair |
|---|---|---|
| Under 1/16 inch | Cosmetic shrinkage in poured concrete | Latex-cement patching compound or masonry crack filler |
| 1/16 to 1/8 inch | Often non-structural, too wide for thin filler | Masonry-rated patching compound or polyurethane caulk |
| Wider than 1/8 inch, or any leaking crack | Needs injection or professional evaluation | Polyurethane injection, not surface filler |
Waterproofing Basement Walls from Inside Cost
Interior waterproofing can avoid the cost of excavation, but the total cost still depends on the job. The final number depends on wall length, wall condition, and whether you're paying for labor or doing it yourself. Here's how to build a realistic budget instead of guessing.
What Drives the Price
Four variables move the number more than anything else:
- Wall area: sealer and labor are priced by square footage. Rough block walls generally take more material than smooth poured concrete because the pores and joints absorb coating.
- Surface prep: this is the labor-heavy part. Scrubbing, vacuuming, and patching a rough block wall can take longer than the coating itself, and it's where do-it-yourselfers underestimate their time.
- Crack and defect repair: priced per crack. A handful of hairline cracks is a minor line item; polyurethane injection on multiple leaking cracks adds up quickly.
- Product choice: a basic masonry sealer is the least expensive material. Silicate-based densifiers and elastomeric waterproof coatings cost more per gallon but often cover more area per coat and last longer.
Do-It-Yourself vs. Hiring a Pro
For a dry, damp-only wall with minor cracks, a homeowner can reasonably handle the job. Budget for sealer, patching compound, rollers, brushes, and safety gear, plus a weekend or two of labor depending on wall size and condition.
Hiring a professional changes the math because you're paying for diagnosis as much as application. A pro will identify whether the moisture is seepage, condensation, or an active leak before coating anything, which is the step most failed do-it-yourself jobs skip. Labor is a significant part of a professional interior waterproofing quote.
Getting a Real Number
Pricing depends on factors such as wall condition, product choice, and scope of work; contact Colby Plumbing Company LLC for current rates.
For current rates and a firm estimate on your basement, check the installation cost guide or contact us directly for a quote.
Watch out: A quote that's dramatically lower than the others usually means surface prep or crack repair has been left out. Those are the steps that determine whether the coating lasts, so ask specifically what prep is included before you compare prices.
Waterproofing Basement Walls from Outside
Exterior waterproofing addresses water before it reaches the wall.
This means excavating down to the footing, cleaning the foundation wall, applying a waterproof membrane, and restoring drainage at the base. It's more expensive and more disruptive, but it solves hydrostatic pressure instead of fighting it.
When is exterior work the right call?
- Water enters through the wall itself, not just the joint
- You've already sealed the interior and water returned
- The wall shows bowing, horizontal cracks, or spalling
- You're already excavating for another reason
Exterior membrane combined with proper foundation drainage can help keep a basement dry, while interior sealant alone may serve as a temporary measure.
When Sealing Isn't Enough: Next Steps
Some basements need more than a coating. If water returns after a proper interior seal, the problem is pressure or drainage, not the wall surface.
Signs it's time to escalate:
- Water returns within one rainy season
- Standing water appears on the floor
- The wall bows or a horizontal crack widens
- Your sump pump runs constantly or not at all
If sealing won't solve it, signs of a failing sump pump are worth checking before the next storm. And if you're weighing whether to wait, it's worth understanding what happens when a leak goes unrepaired.
Sealing basement walls is a job you can do yourself on a dry, damp-only wall.
Frequently Asked Questions
Can basement walls be sealed from the inside?
Yes, interior sealing works for minor seepage and hairline cracks. Clean the wall, repair defects, and apply a waterproof coating or sealant. This stops dampness but does not relieve hydrostatic pressure. If water is actively pushing through, interior sealant may fail. For active leaks or standing water, address drainage or consult a professional before sealing.
What is the best thing to seal basement walls with?
The best product depends on the wall material and moisture level. For concrete block, use a breathable masonry waterproof coating. For poured concrete, an epoxy or latex cement sealer works well. For cracks, use hydraulic cement or polyurethane caulk. Always match the sealer to the substrate and follow the manufacturer's coverage and curing instructions.
How much does it cost to waterproof basement walls from the inside?
Interior waterproofing costs vary based on wall length, moisture severity, and product choice. We recommend contacting Colby Plumbing Company LLC for a quote to understand the full scope before starting.
Can I seal a basement wall that is actively leaking?
Sealing an actively leaking wall is not recommended. Water pressure will push through uncured sealant and cause failure. First, stop the leak by addressing drainage or using hydraulic cement for cracks. Once the wall is dry, clean and seal it. If the leak is severe, call a professional to evaluate the source before applying any product.